Your video editing skills are the absolute baseline for creating a great video. How you put it together, the cuts, the color grading, and the audio make a huge difference to the end result.

In this ultimate guide, we’re going to walk you through everything you need to know about video editing. From start to finish, back to front. So you know exactly where your time is best spent as a beginner.
What is video editing?
Video editing is the process of selecting, arranging, and modifying video and audio clips to create a visually appealing storyline. It involves cutting, trimming, adding transitions, effects, voiceovers, music, and adjusting audio levels — to create a video your audience enjoys watching for several minutes (or hours).
How can I learn video editing?
How you should go about learning to edit videos depends on your end goal:
-
Hobby video editor: YouTube is going to be your best friend; it’s got plenty of free tutorial videos that will have you picking up the basics in no time. Like this one:
-
Semi-professional: want to take things up a notch? Then, it’s probably best to do an online course that takes you through the topic from start to finish. Like this one: ‘Mastering Final Cut Pro’ on Coursera. You can find an array of online courses on:
Coursera (www.coursera.org)
Udemy (www.udemy.com)
FutureLearn (www.futurelearn.com)
However, many videographers and filmmakers (especially those already creating YouTube video content) have their own courses. So if you find one you like — it’s worth checking whether their website has one.
3. Professional videographer: If you want to become a professional videographer who works for companies as a freelancer or in-house, we definitely recommend opting for well-established software.
Some companies want you to work with a particular suite of editing software — and knowing your way around the most common ones will get you bonus points. The most popular and valuable skills to have as a video editor at the moment are:
Adobe Premiere Pro
Final Cut Pro
4. Professional filmmaker: filmmaking (including film editing) is where people start going down more traditional educational routes — college degrees. You can find some of the most prestigious filmmaking programs at:
University of Southern California School of Cinematic Arts
American Film Institute
Toronto Film School
London Film School
No matter what route you go when it comes to learning, be sure to keep in mind:
What editing software they’re teaching you — ideally, you only want to invest your time learning software you want to use long term or that has the best chances of landing a job. We’ll cover more about choosing the right video editing software below.
-
Also, make sure you build a solid portfolio of work — start creating and editing as much and as early as you can because in a visual job like this one, your videos will do all the talking.
Video editing lingo: the basics
Before we dive right in, we’re going to get you acquainted with the video editing lingo. Aka, the words and phrases video makers and filmmakers often throw around — yet you might not have heard before.
Just like any new topic you’re learning about, they might be a bit confusing to deal with in the beginning, but once you get the hang of them, you start sounding like a pro in no time. Here’s a quick overview:
Frame rates: when you're filming a video, it's just a sequence of pictures being taken, and when we play them at a fast pace, it seems like it's moving. The frame rate is about how many images are taken per second. Different frame rates create other effects and results. Want to read more? Check out The Ultimate Beginners Guide to Frame Rates.
A-roll: is the main footage of your video, the meat of the end result. This is the video footage of the main character and plot.
B-roll: also makes a big difference but is more so the filler material, some shots of the surroundings to set the scene, or a close-up of an outfit detail. These are usually thrown in to make videos more dynamic, give a scene more context and depth, and evoke certain emotions.
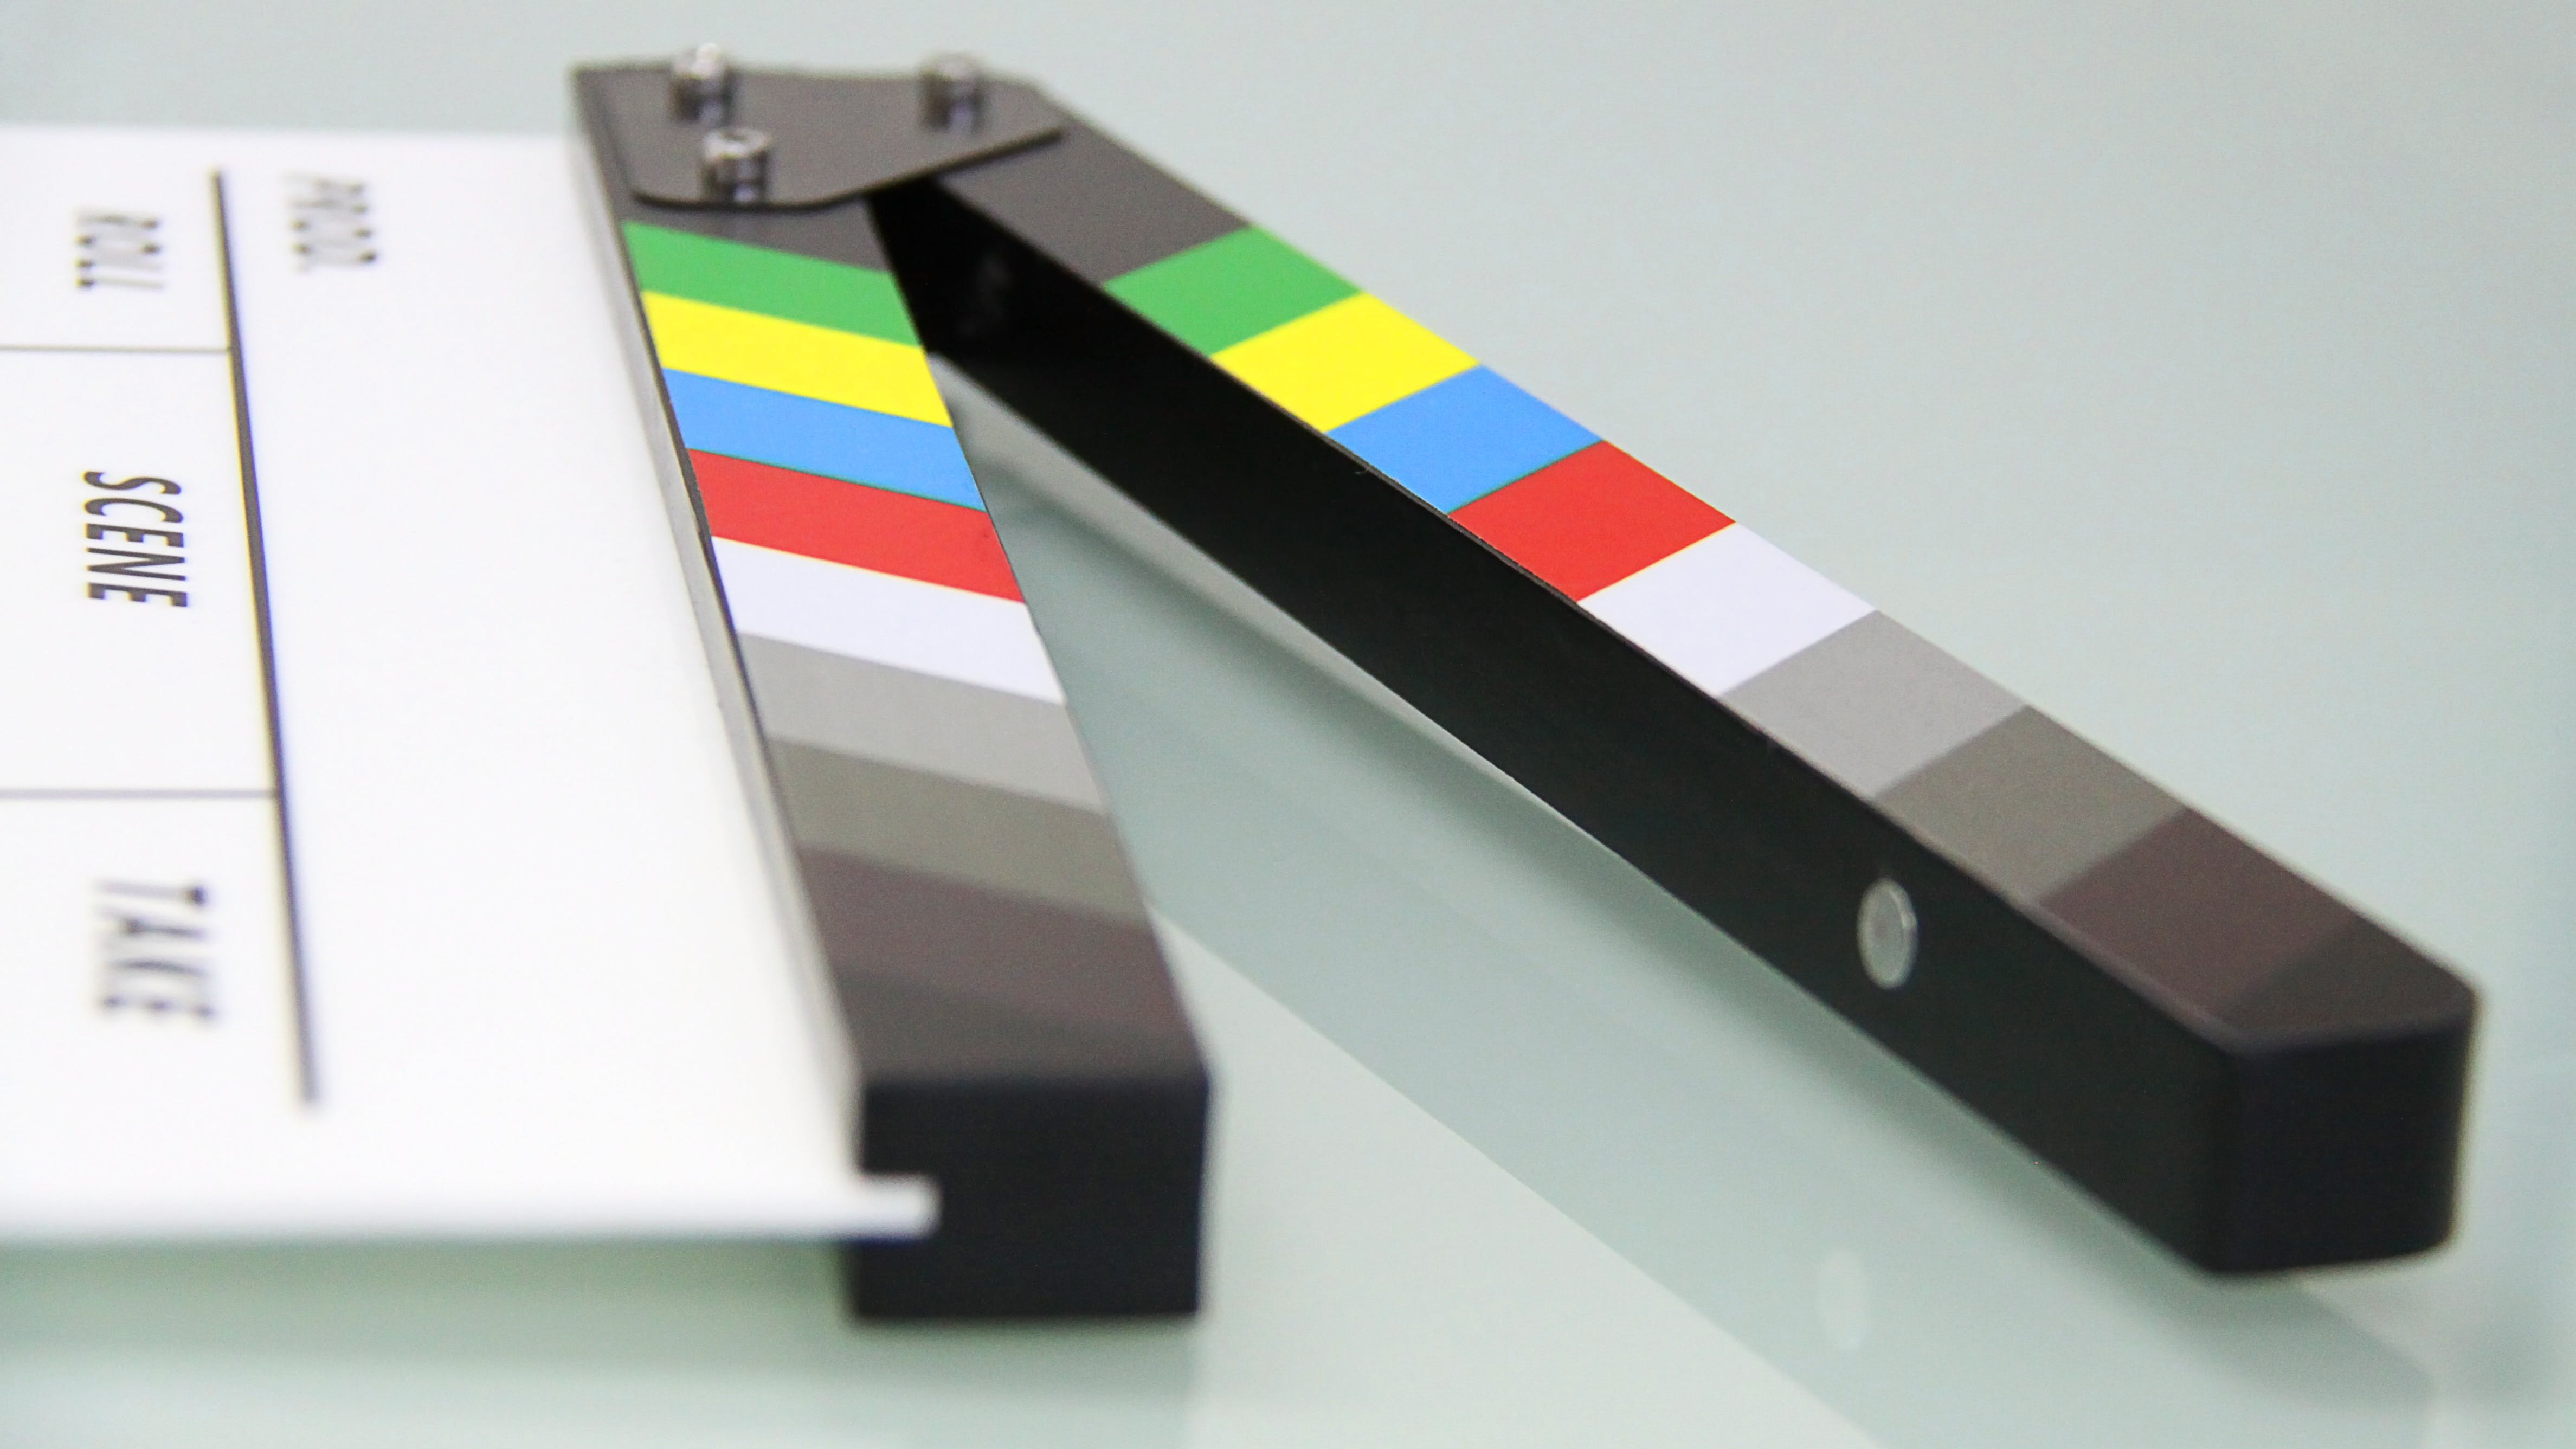
The video shooting & editing workflow
The basic process of creating a video from start to finish consists of three main phases:
Pre-production
Production
Post-production (including video editing)
Each phase consists of many sub-steps. Video editing is the main sub-step in the third (and last) post-production phase — and is what we’re going to focus on in this article.
But if you're looking for inspiration on creating videos throughout the 3 stages of video making — head on over to the Unscreen blog after reading this post; we've sectioned it into each phase.
Three things to consider when choosing video editing software
Choosing your video editing software is the first thing you’re going to face. It also has a huge impact on your workflow.
Which software is best for you depends on quite a few things. These are the most important things you should keep in mind:
1. What device are you going to be shooting your videos on (and want to be editing on in the aftermath)?
Think about whether you plan on shooting on your phone or with a DSLR camera. You can take care of editing a phone video directly on your phone, for example. But if you’re shooting with a camera, editing on your computer or laptop is probably gonna be your workflow.
Some editing software is tailored to phones, and some to desktops — so think about what device you wanna shoot and edit on. Editing on your phone, for example, is great for social media videos because you can shoot your video on the phone, edit it there, and post it all from one device.
Check out 3 Steps to Creating Engaging Social Media Video Content.
2. How much you can and want to spend
Video editing software can be expensive, cheap, or free — it completely depends on your needs. But price is definitely something you want to take into consideration. Paying for editing software as a pro is pretty standard, but if you're just dipping your toes into video editing, a free or low-cost option might be the best choice.
3. User-friendliness, experience
You're going to spend a heck of a lot of time with your computer and editing software, so make sure you actually like using it. Some software is easy to use and intuitive; others might be dated, feel clunky, or even have a design that puts you to sleep rather than inspires you to create. Watch someone else use it on YouTube to get a feel for the interface before you dive right in.
The most popular video editing software out there
The most popular video editing software out there at the moment for your desktop includes:
Adobe Premiere Pro
DaVinci Resolve
Final Cut Pro
Adobe Premiere Rush
Apple iMovie
Unscreen (to remove the background of your videos and/or add a new one)
If you're planning on editing on your phone, we recommend checking out:
InShot
Kinemaster
Splice
Unscreen (to remove the background of your videos and/or add a new one)
Want an in-depth comparison of video editing software? Here are some articles that compare their features, price, usability, and more:
The different video editing types out there
There are a couple of different kinds of video editing; here's an overview:
Linear editing
Non-linear editing
Offline editing
Online editing
Live editing
Bespoke editing
Cloud-based video editing
If you want to find out more about what these editing types mean and in what cases they are used, check out Basic Video Editing Types for Beginners.
Basic video editing: how to go about it
Alrighty, now we're going to dive into what you came here for — video editing. Here's a step-by-step overview of what you need to get done to go from raw footage to the final result:
The fine cut: here you go in and start cutting out the bits you don't need, the extra stuff. How much you trim depends on the pace of the video you want to have; for a quick-paced video, keep the shots short. But for long romantic scenes, keep 'em long.
Color correction and grading for consistency: next, you’re going to want to keep the viewer’s attention by ensuring you have consistent hue, saturation, and brightness levels in your video. This will also give an overall professional look and feel. It also gives you the freedom to steer the overall mood of the video or scene.
Adding final touches: take a break from your project before watching it through as if for the first time. Make notes on inconsistencies, storytelling gaps, or excessive content. Edit accordingly and repeat the process until satisfied. Seek feedback from peers or friends and make necessary adjustments.
Exporting and sharing: prepare your work for social media by saving multiple versions based on platform preferences. YouTube is flexible with formats, Facebook and Instagram have specific requirements, and Twitter has its standards. Consider branding, profile, and marketing strategies to stand out on social media.
Want the full low down of video editing basics for beginners? Go ahead and check out How to Edit Video: A Beginners‘ Guide. This gives you a whole low down on basic video editing as well as all the prep you should be doing beforehand.
Advanced video editing techniques
Now, let's roll up our sleeves and dive into some advanced video editing techniques that will take your videos to the next level. For the purposes of this ultimate guide, we cover videos that show you how to do most of the edits in Unscreen and Premiere Pro.
Removing or changing the background: green screen (chroma key) editing
Technology truly is incredible; now you can learn How to Remove Video Backgrounds without Green Screen — this is something one had to consider before filming, but now removing and changing the background of a video is no longer tedious.
You can film scenes and switch up the background to create a unique effect, save production costs, or repurpose content. Check out the following articles for detailed step-by-steps on removing backgrounds and/or adding another one:
Audio & music editing
Many people think video is just about the visuals, but in fact, the importance of audio is huge. Audio, as well as background, can truly make or break your video.
You’re going to want to clean up background noise and consider adding music or voiceovers to enhance your video — this is known as audio editing. And this video covers the most important aspects of mastering it:
Once you’re done with audio editing, you probably want to add some background music:
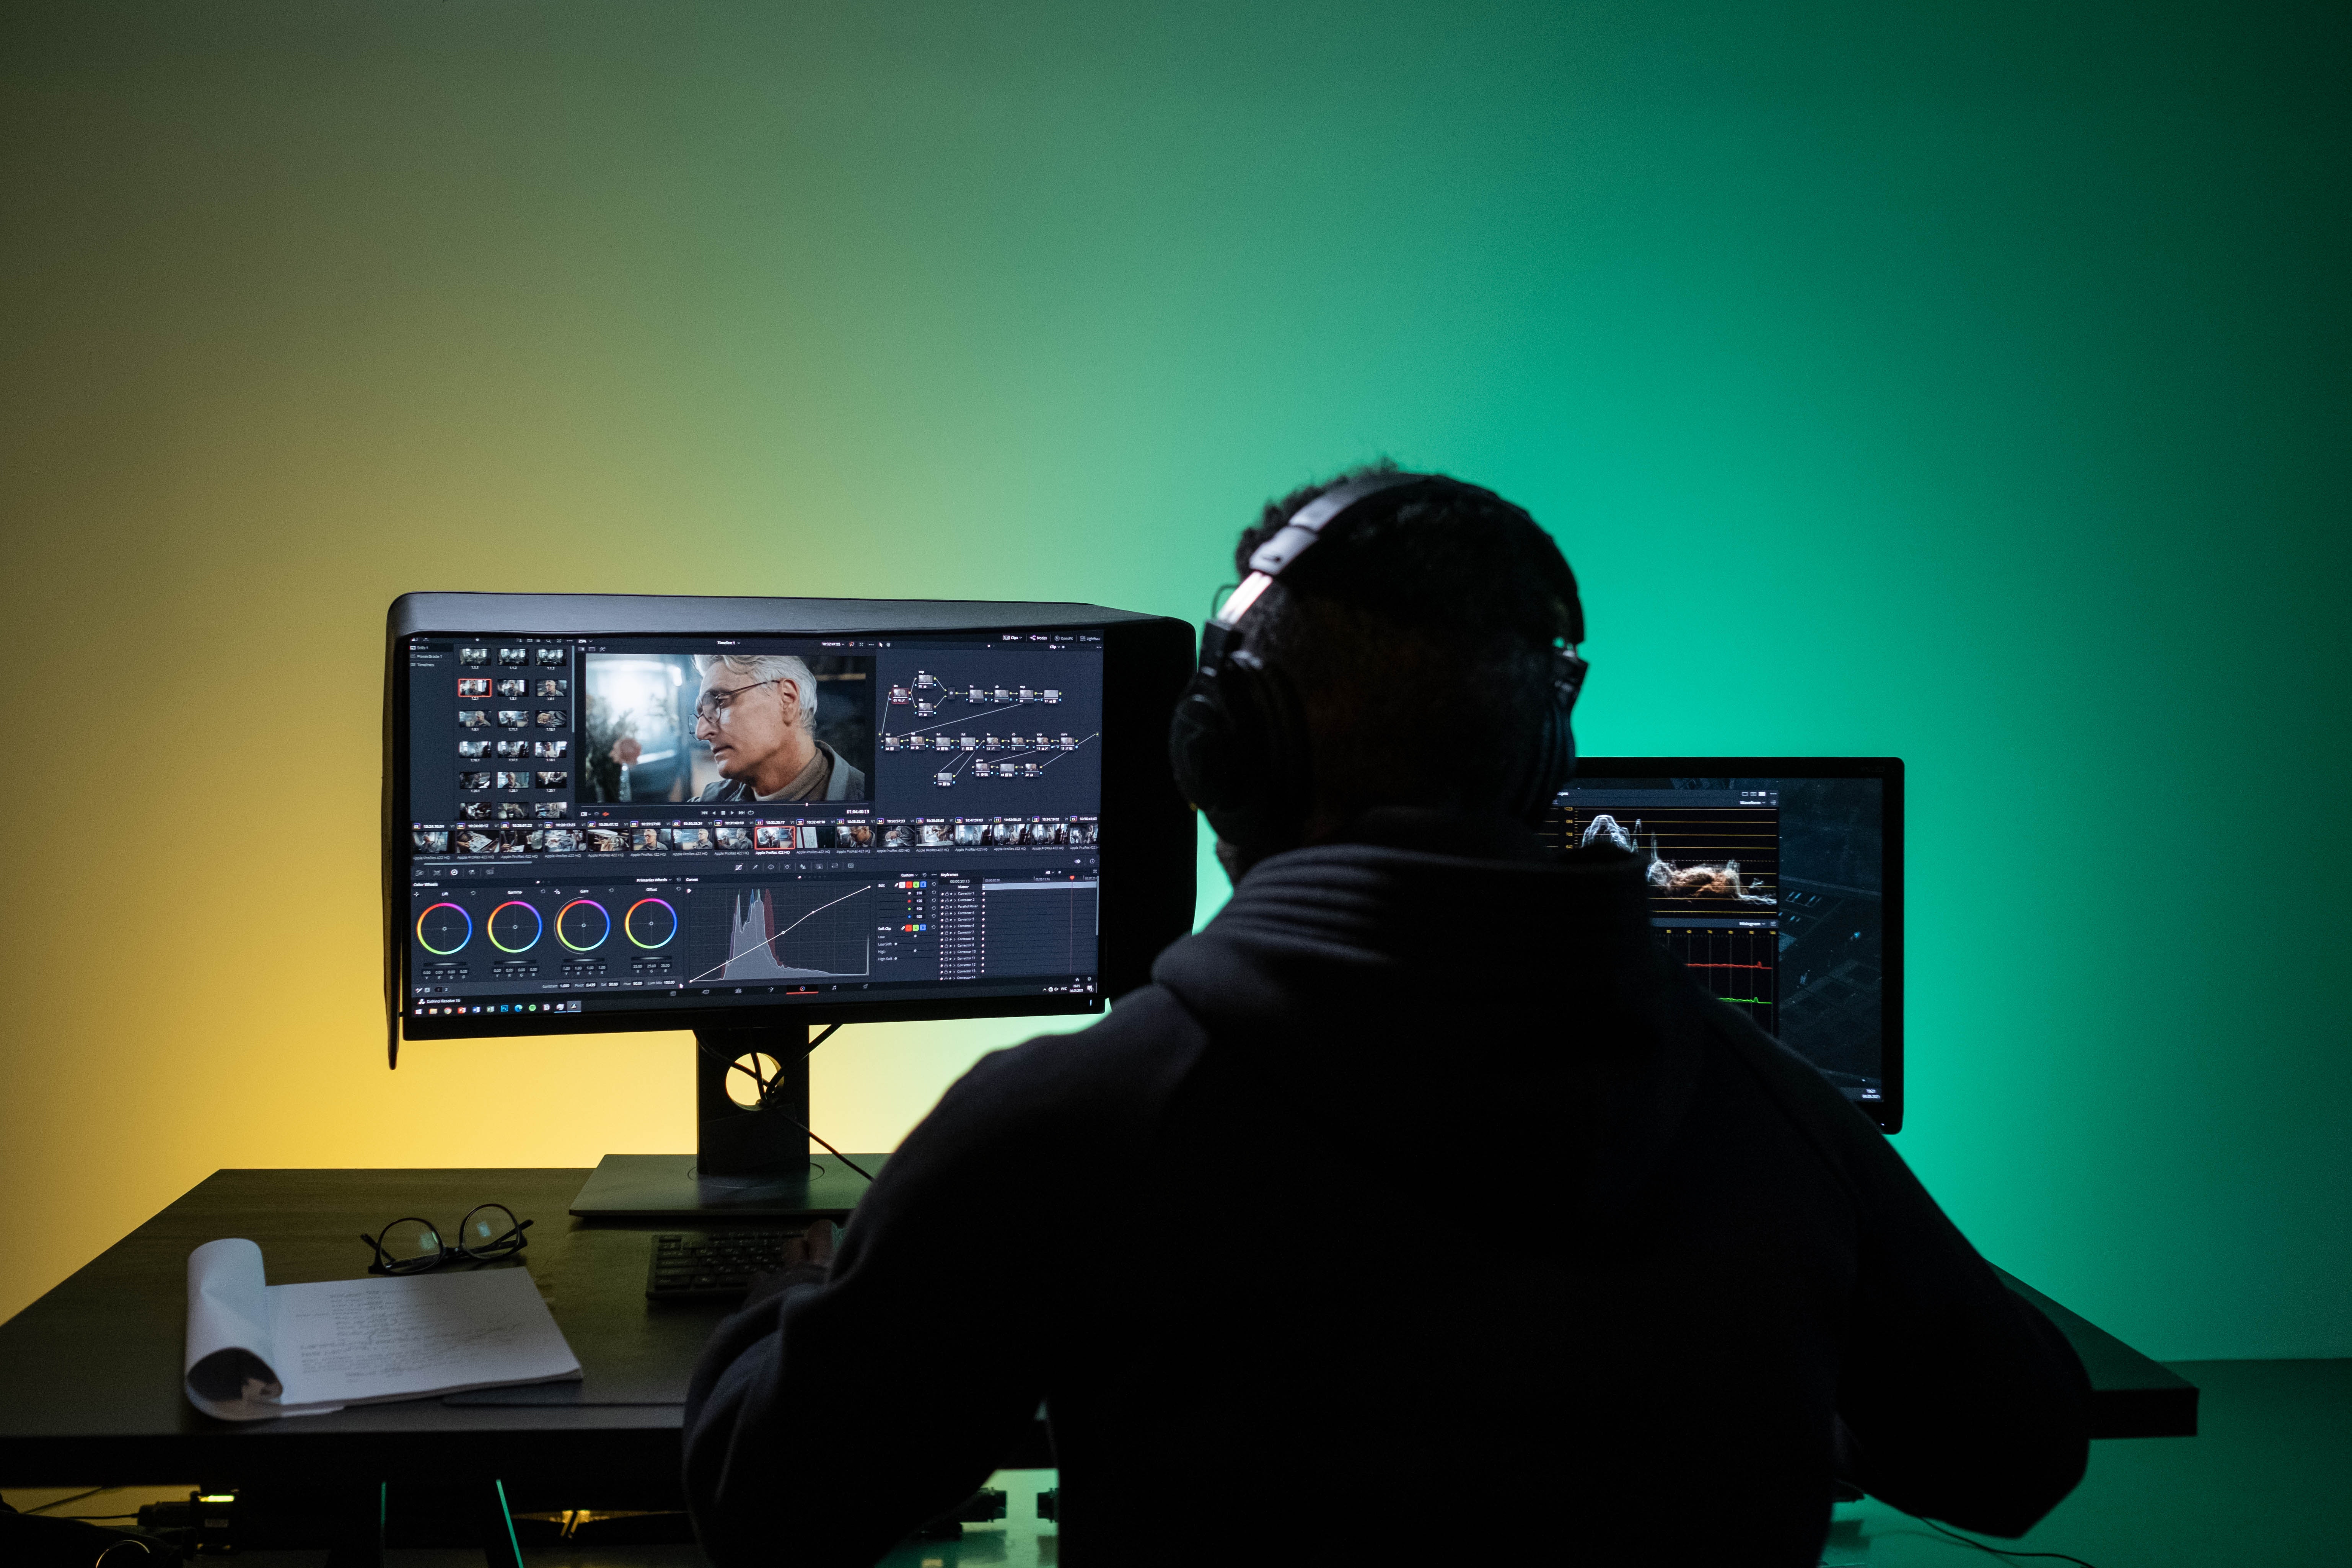
Color correction and grading
Mastering color correction and grading can significantly enhance your video's overall look and mood. It's like giving your video its unique cinematic flavor by adding or subtracting color. Color correction is all about ironing out where the color looks off, and grading is all about adding tones of color to give the video a particular look and feel.
Want to become a pro at color correction and grading? Take a deep dive into our post on Color Grading vs. Color Correction.
Or go ahead and watch this tutorial:
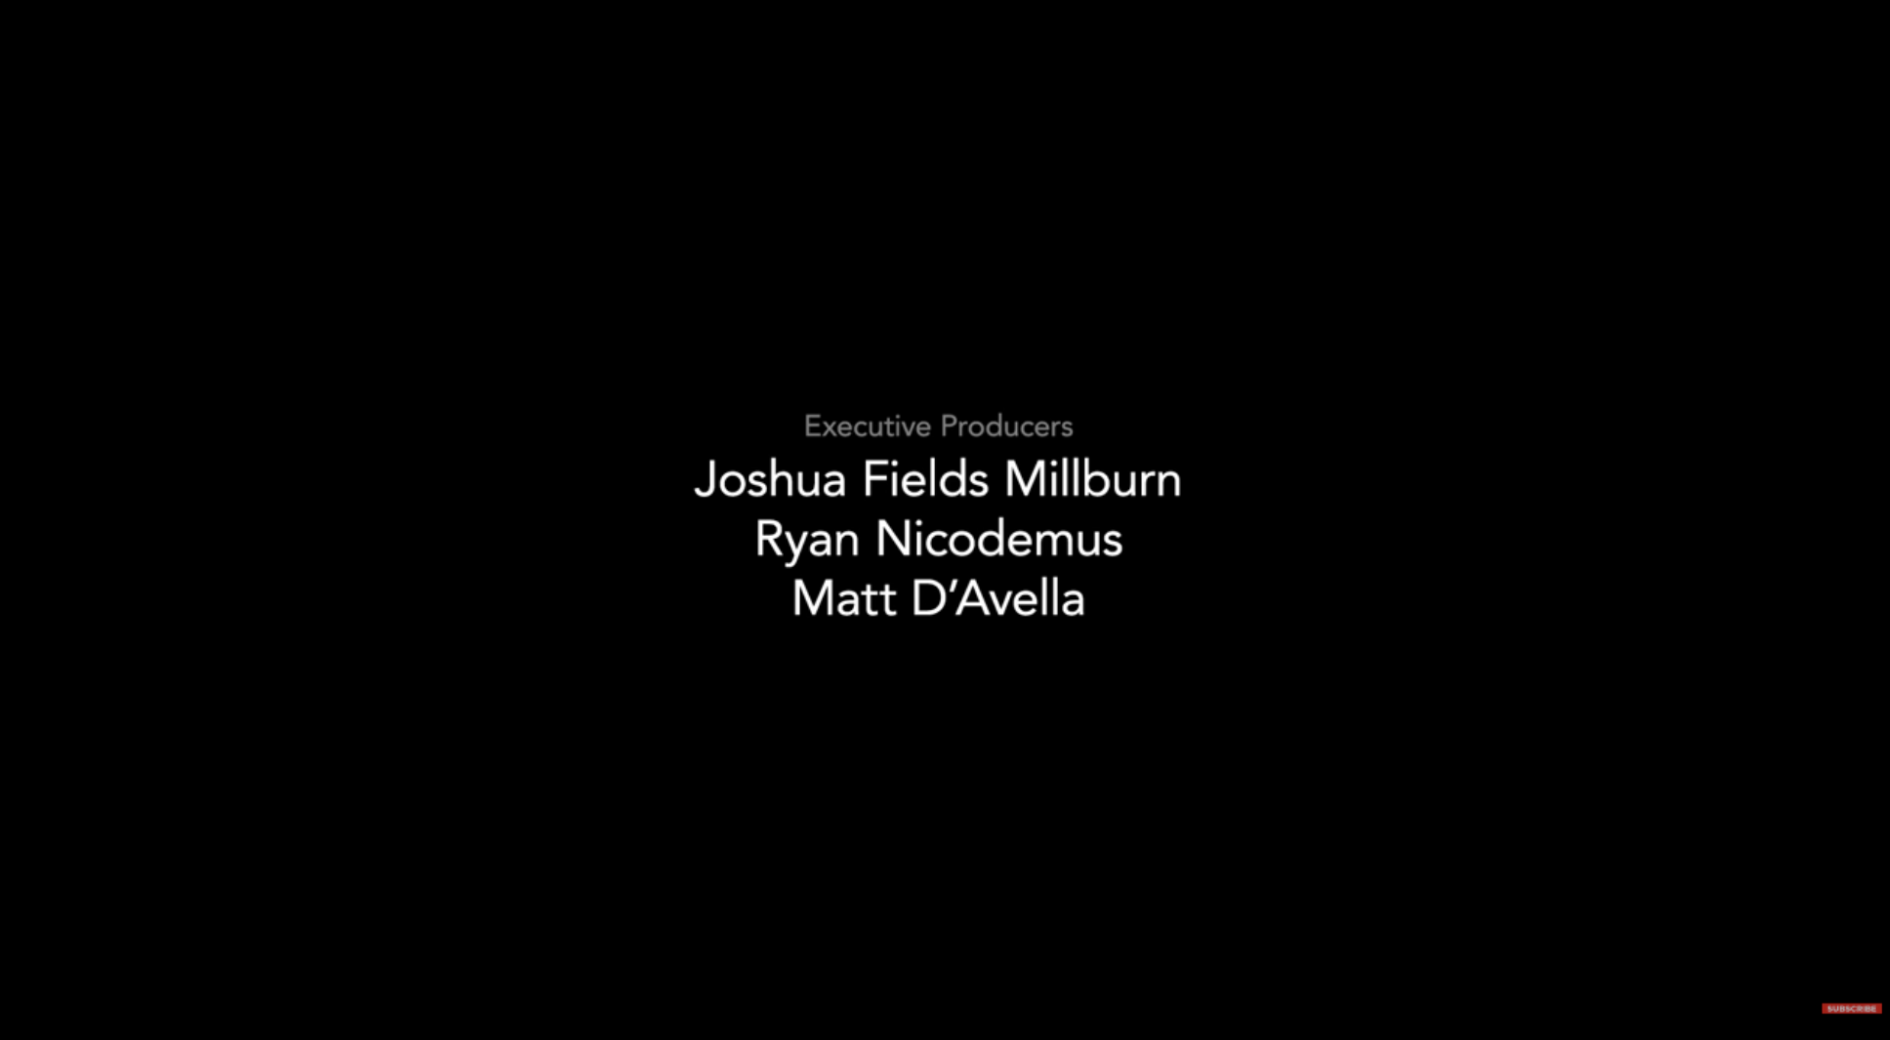
Adding text and titles to your videos
Adding text or titles is also necessary. For example, you’re going to want to blend in the title of your video or film at the very beginning and perhaps the location at the end; you might want to include yourself and everyone involved in the production.
Like these screenshots of an inspiring documentary film called ‘Minimalism,’ we found on YouTube:

You can learn how to add a cinematic title in this video:
Working keyframes
In Adobe Premiere Pro, keyframes are essential to the animation and motion effects capabilities. Keyframes are specific points in time within a video clip or effect where you set a parameter to a particular value. By using keyframes, you can create changes in properties over time, such as position, scale, opacity, and more. Here's how keyframes work in Premiere Pro:
Speed control and time-lapse
You can also control the speed of your video clips to add drama, suspense, or even humor. Creating time-lapse sequences can also bring a unique perspective to your videos.
Check out this video:
Final touches: perfecting your creation
Now that your video is nearly ready for its debut, it's time to add some final touches. Go through the entire video and:
Review and playback
Sit back, relax, and watch your video from start to finish. Look out for any last-minute edits or tweaks that could make it even better.
Getting feedback
Don't be shy about sharing your work with others. Seek feedback from peers, mentors, or online communities to gain fresh perspectives and improve your editing skills.
Making revisions
Based on the feedback you receive and your critical eye, make any necessary edits to fine-tune your video. With your video now polished to perfection, export the final version and get ready to showcase your masterpiece to the world.
Once you're happy with the end result, it's time to export your video.
Exporting your video: sharing your masterpiece
Once you've polished your video to perfection, it's time to share it with the world. Here's what you need to know:
Video format
Choosing the right video format ensures your video plays smoothly on various platforms and devices. A format is the way your video is saved on a digital device like MP4 or MOV. MP4 is the most common video format and universally compatible with socials and devices — so if you're unsure, we recommend opting for this.
Check out this Understanding Video File Formats, Codecs, and Containers article to read more about formats.
Choosing the right video export settings
Configuring export settings preserves your video's quality while managing file size, which is essential for online sharing. You want great quality, yet some platforms won't accept huge file sizes, or they can even slow down your website.
Adobe has stated that “In general, these are the best video export settings for most applications:”
Format: H.264 (MP4)
Frame rate: Match the frame rate of the source video
Frame size: 1920 x 1080 for HD, 3840 x 2160 for 4K
Field order: Progressive
Aspect: Square pixel
Performance: Hardware encoding
Profile: High
Level: 4.2 (5.2 for 4K)
Bitrate encoding: VBR, 1pass
Target bitrate: 20–30 Mbps for HD, 60–80 Mbps for 4K'
You can find an in-depth description of recommended export settings by Adobe here: Best export settings for Premiere Pro.
Exporting for different platforms
Different platforms have different requirements. Whether you're uploading to YouTube or Instagram or creating a video for your website — consider this when exporting. If you're creating for socials, be sure to check out this article on How to Export Video for Social Media, where they cover the most relevant aspect ratios.
Saving and backing up your project
You'll also want to ensure you don't risk losing all your hard work. Regularly save and back up your project to ensure your masterpiece is safe and sound.
And so your video editing journey begins
That’s a wrap on our ultimate beginner's guide to video editing. We've covered everything from the very basics to advanced techniques, ensuring you have a solid foundation to embark on your video editing journey.
Ready to start your video editing journey now? Check out How to Edit Video: A Beginners‘ Guide.
Comments