Getting ready to welcome your students back to the classroom? Sometimes it’s not easy to come up with ideas on how to kick off the year. But we’ve got some amazing video project ideas that will keep them busy in the first week or two.
We’ll walk you through how the kids can create a video presentation on these topics:
Summer break show and tell
Create a book trailer
Recreate a moment in history
Mimic a news channel
They can all become the main protagonists and presenters, raising their confidence and presentation skills. The tool you (and the kids) are going to use to create these videos is Unscreen.
A really fun tool where you can remove and change the background of a video to something playful in just a few seconds. They’re definitely gonna love it; just wait.
A heads-up before we dive in:
This video project is more so for students aged 6 years and up.
You’ll need classroom iPads to film on.
Let’s go!
Back to school video project: summer break show and tell
Back to school is the perfect time to get your students to create a video around what they got up to during the summer. It’s also a great way to make them feel seen and catch up on what their friends and classmates got up to.
Getting back into the swing of things after not seeing everyone all summer isn’t always easy, but by lunchtime, they’ll have plenty to chat about.
How to prepare for getting your kids to create a back-to-school video presentation
Create a worksheet where they can brainstorm ideas; it should include questions like:
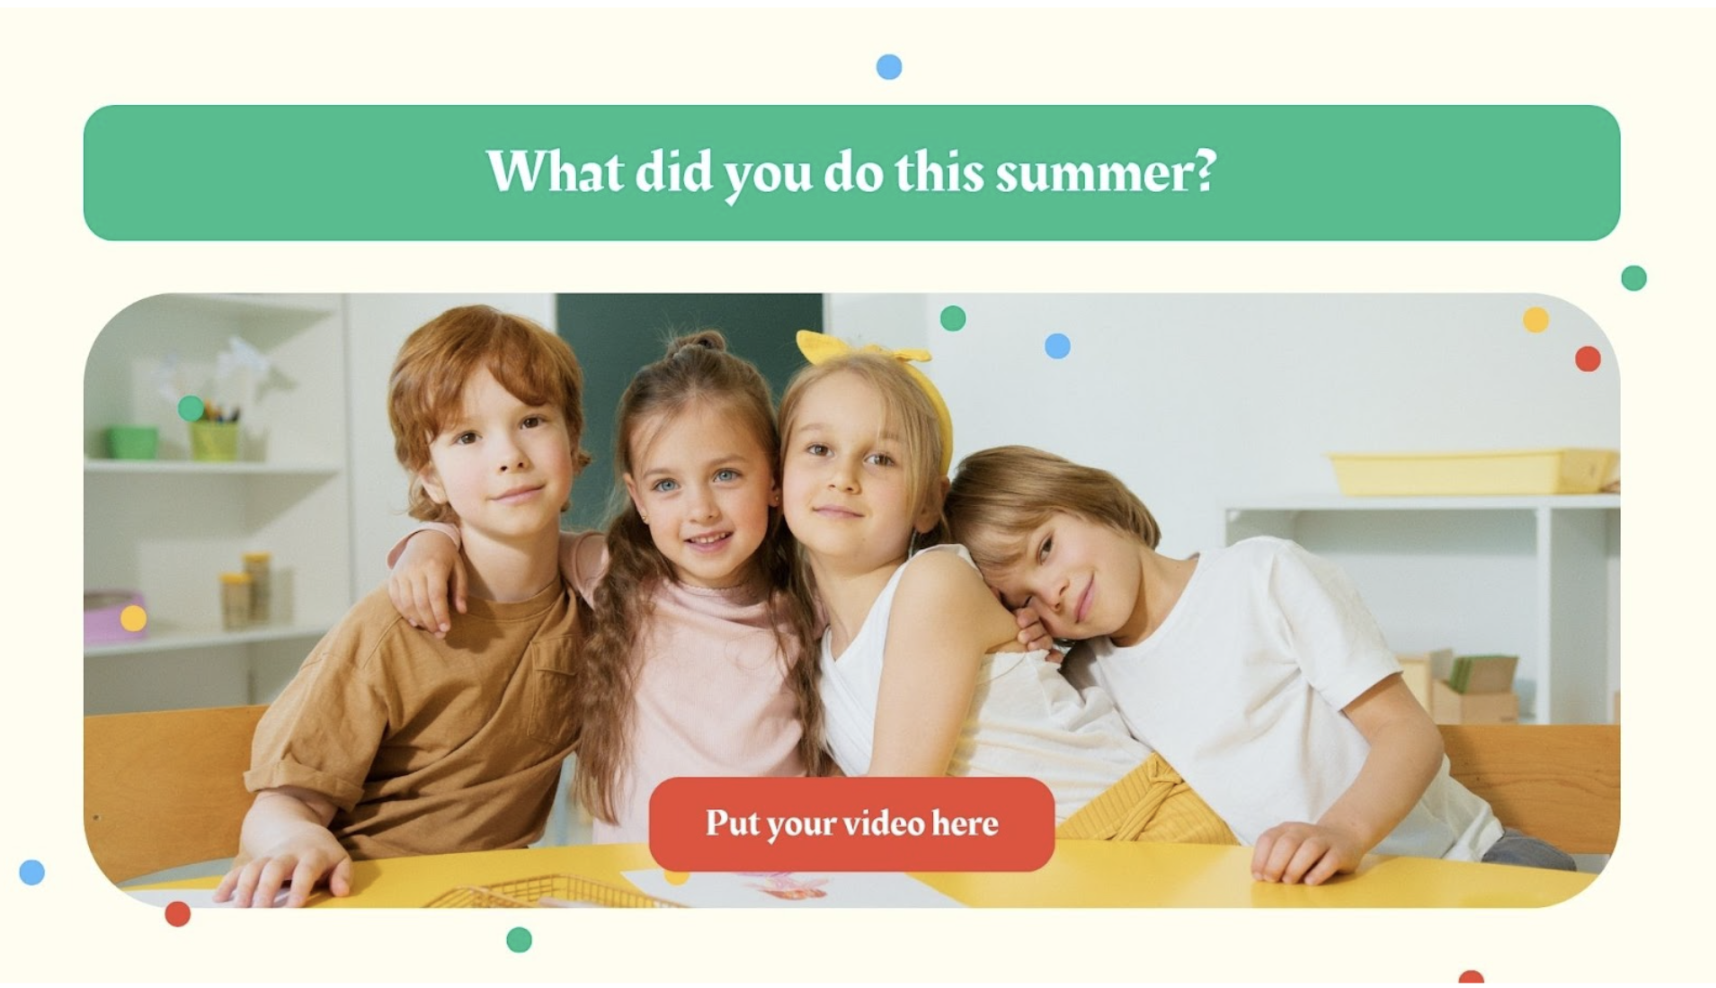
What did you do this summer?
What was your favorite food this summer?
Who did you spend a lot of time with this summer?
What did you learn this summer?
Where did you go this summer?
You can use Canva sheets to create a simple worksheet for this. Canva is a simple design you can use to create everything for your classroom. From slides to worksheets and schedules. Below, we'll show you the basics of using it, but if you want in-depth guidance on how to use it, check out their free Getting started with Canva for Education course — once you've finished reading this post.
2. After creating a worksheet, you’re going to want to create a slide template. This will make things a little easier for them and give them guidance.
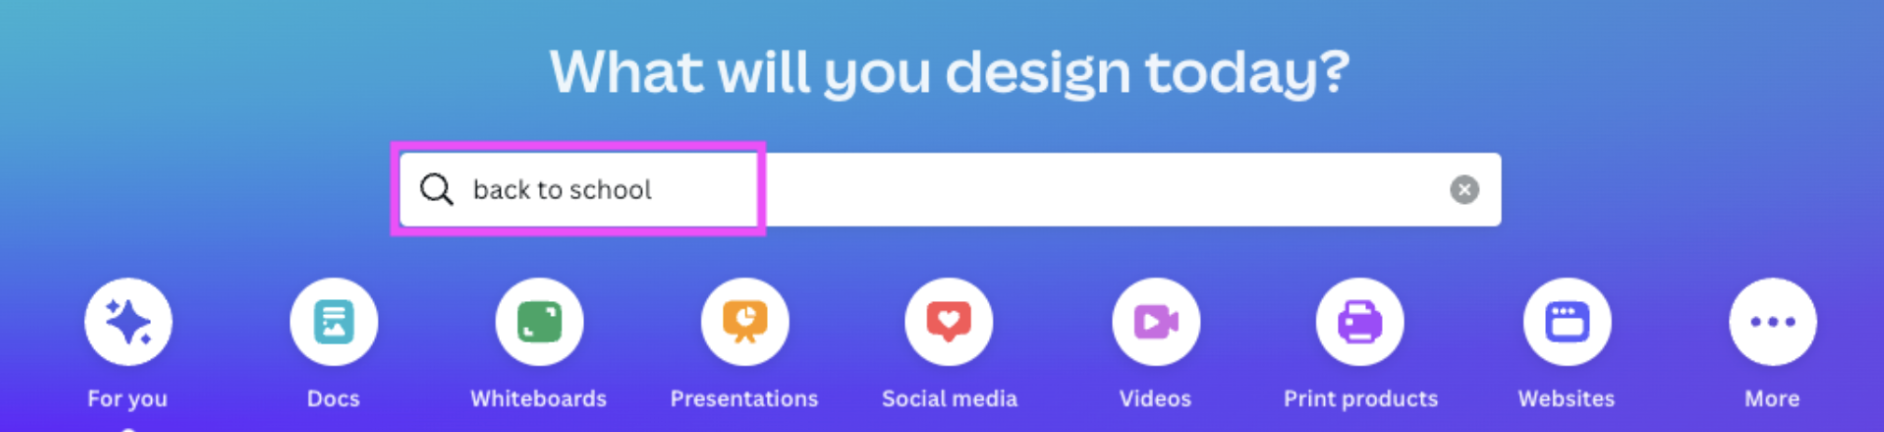
You can use slides from Canva as your baseline, type “back to school” in the search bar.
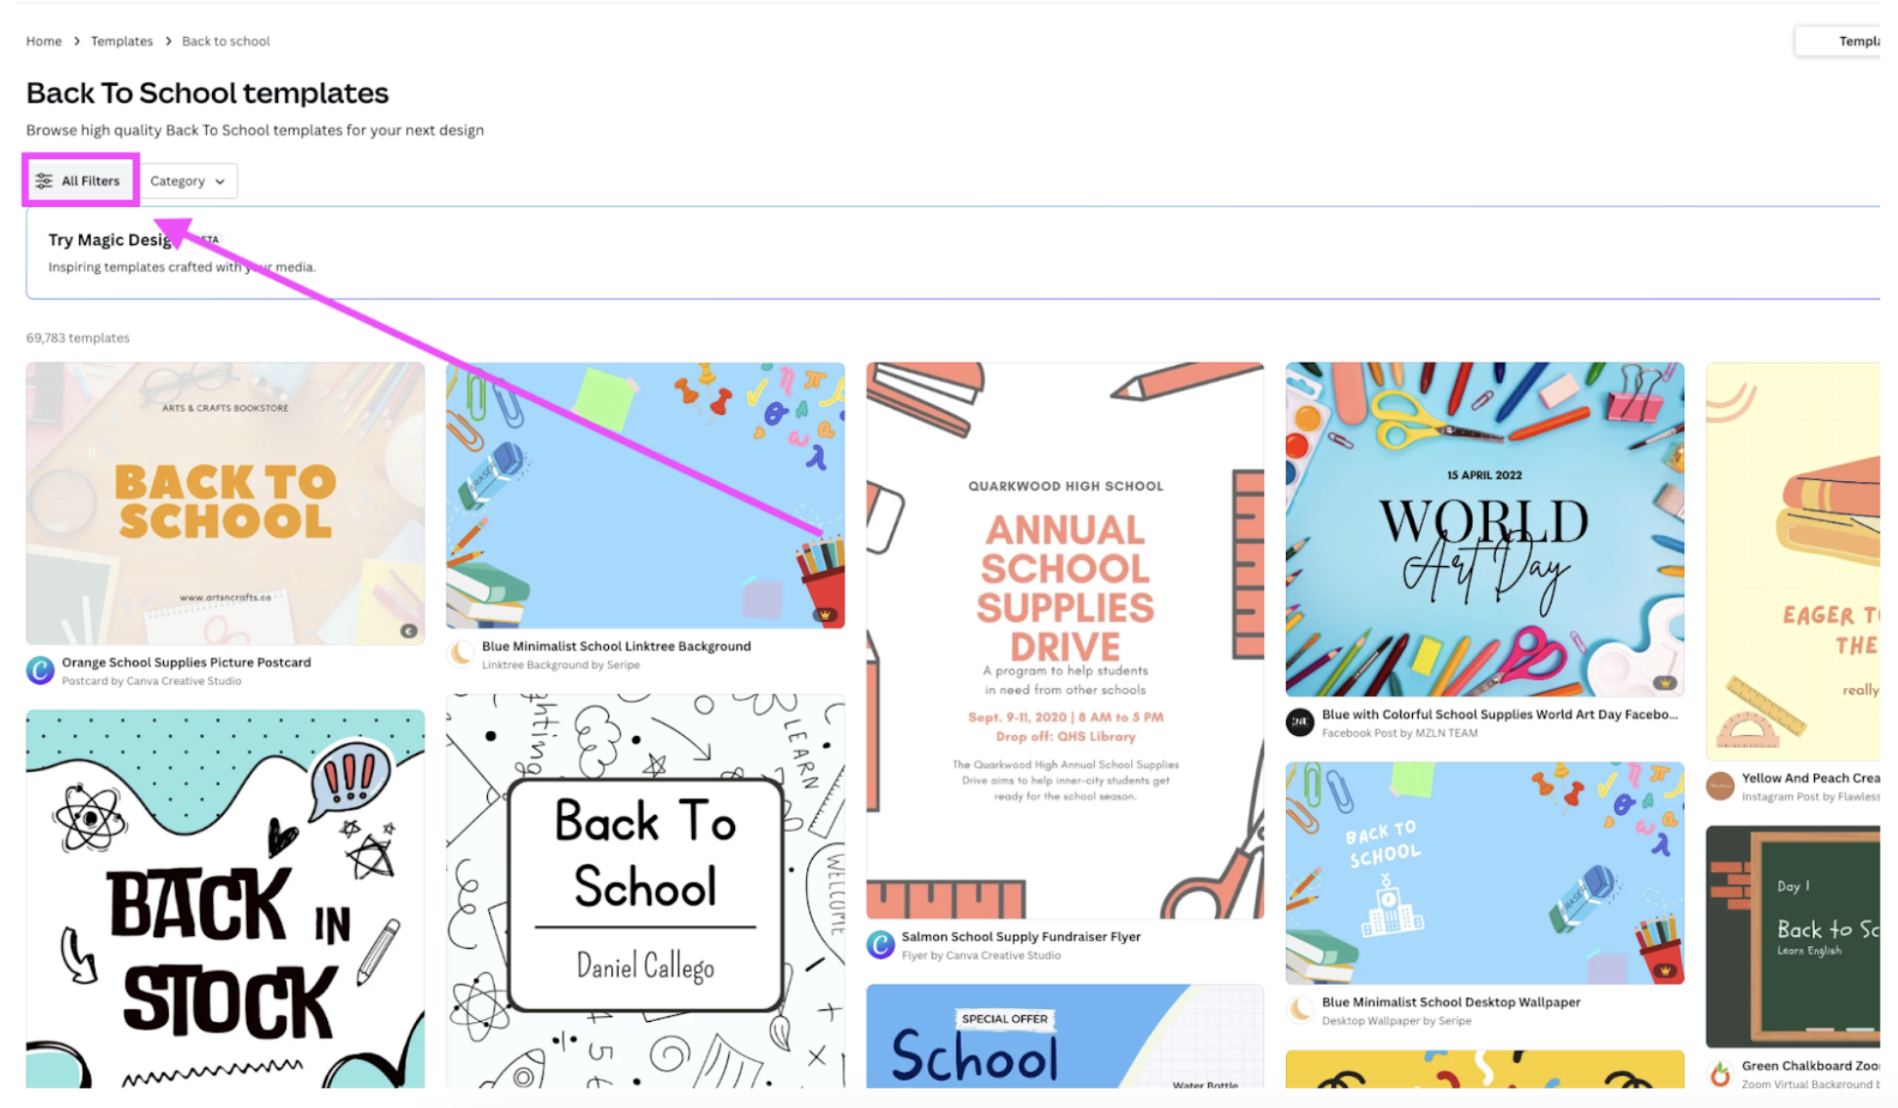
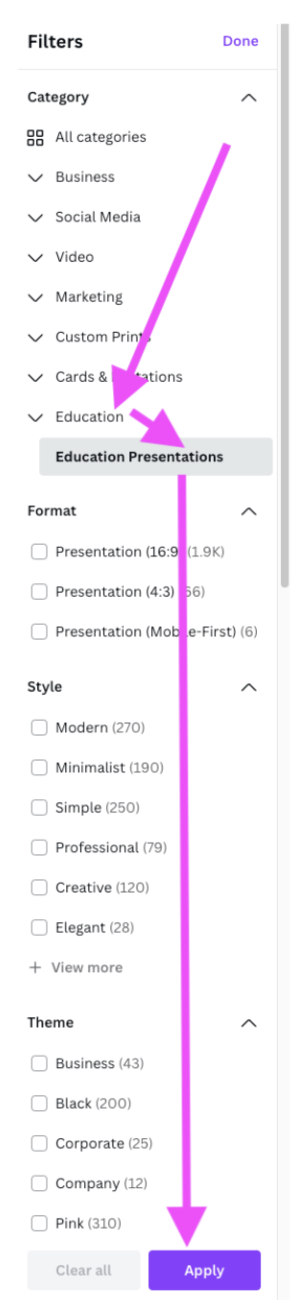
A ton of results will show up. Now you can filter by going to All Filters> Education > Education Presentation > Apply.
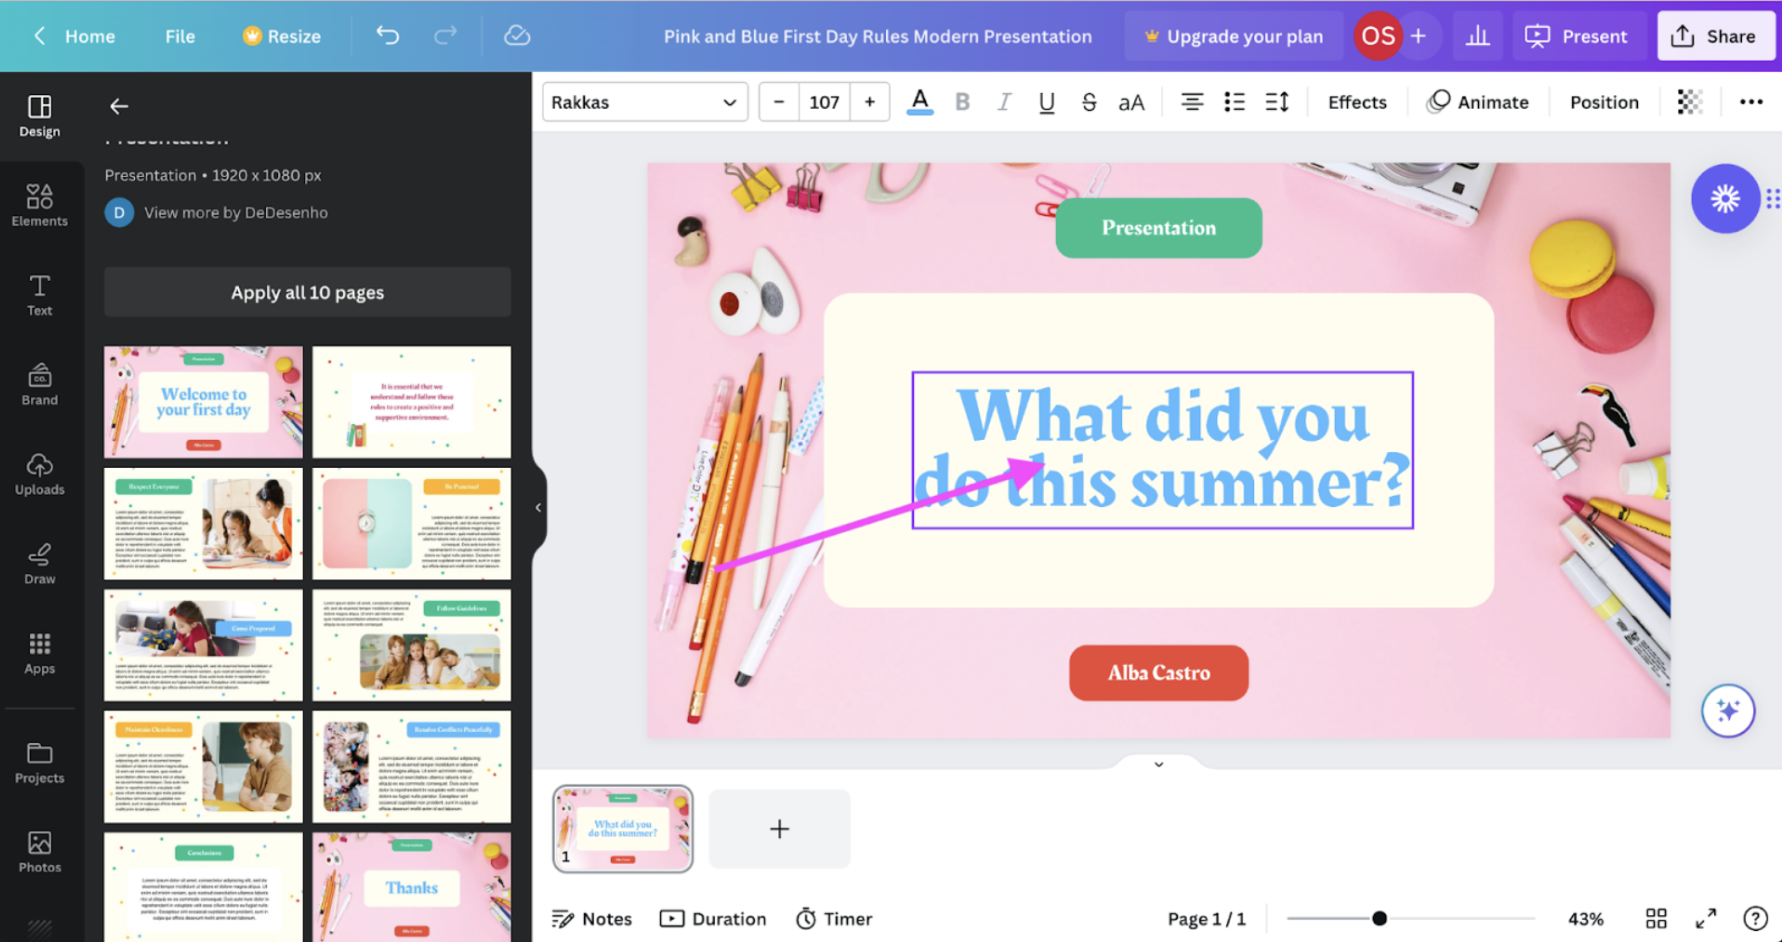
3. Go ahead and choose your favorite one; we went for the Pink and Blue First Day Rules Modern Presentation. To use it, simply click on > Customize this template.
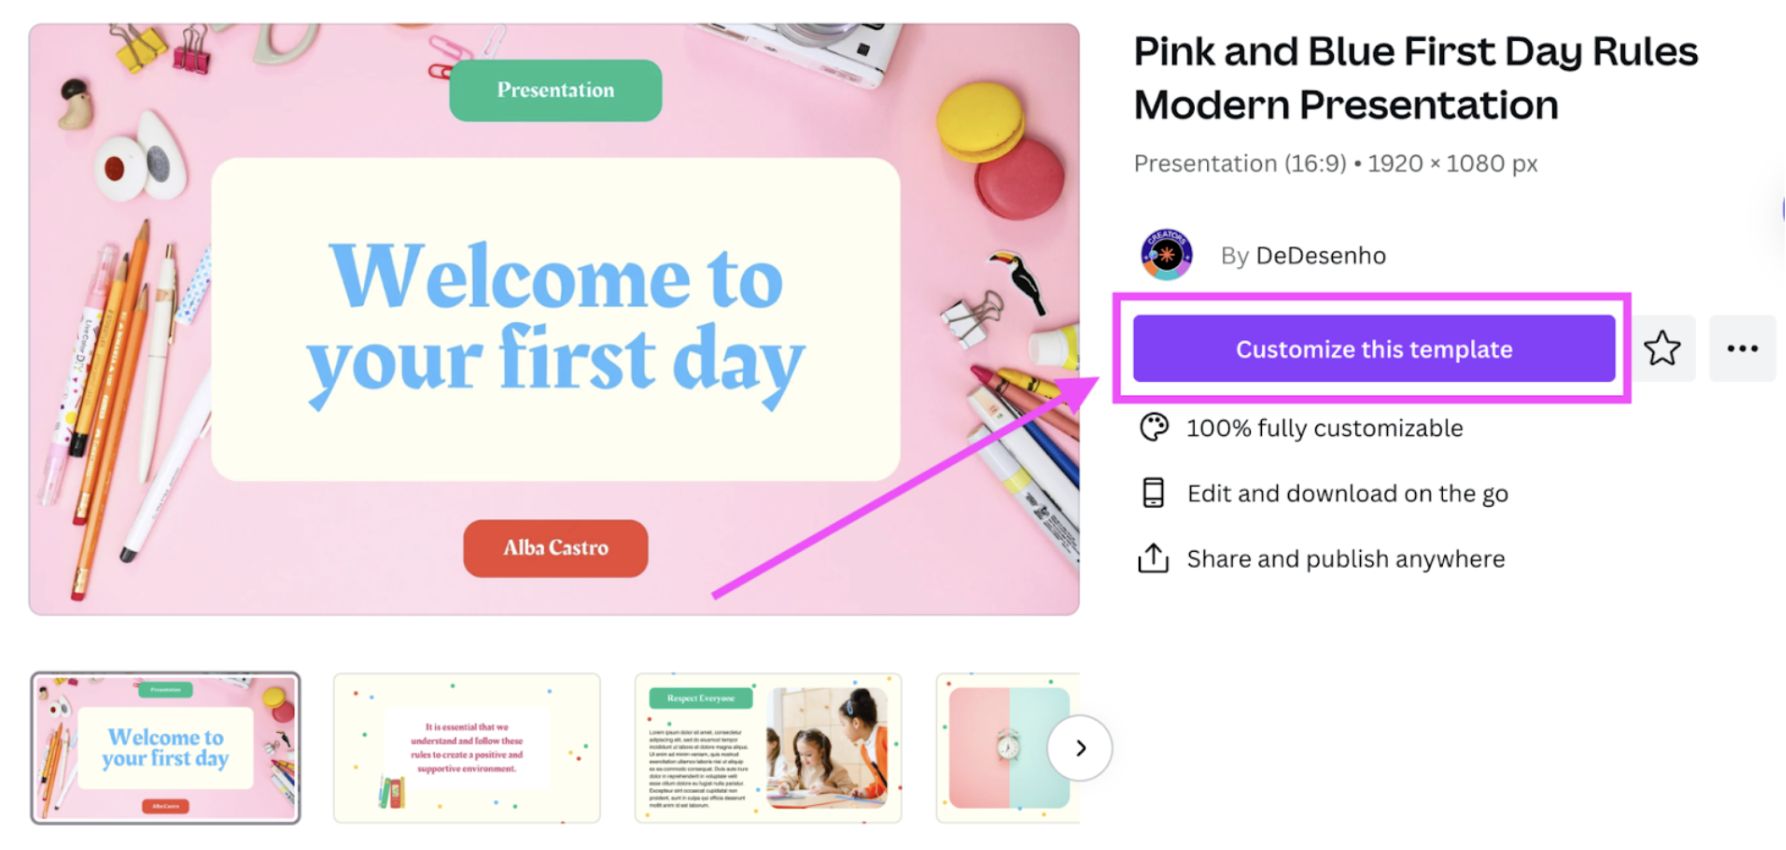
Pro-tip: If you sign up to Canva for Education and verify you’re a teacher, you get access to even more free templates and resources.
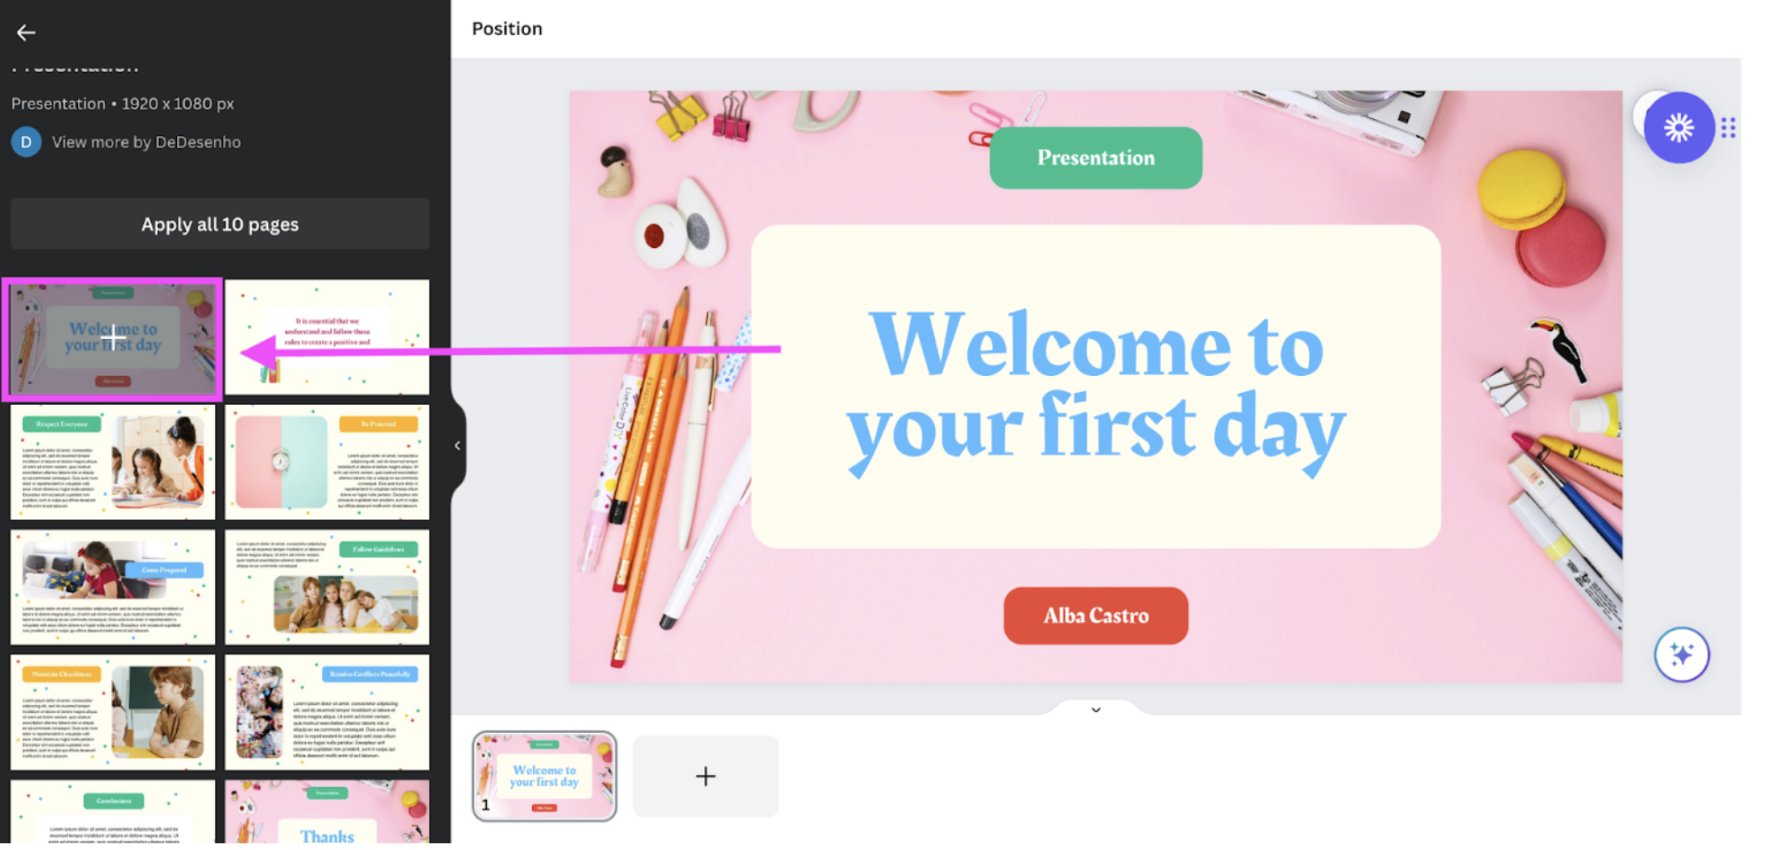
4. Now, go ahead and select the slides you’d like to use and adjust the slides to suit your needs. To do this, simply click on the slide in the left sidebar.
5. Then, go ahead and select the text you'd like to change by double-clicking on it. It will be highlighted in blue.
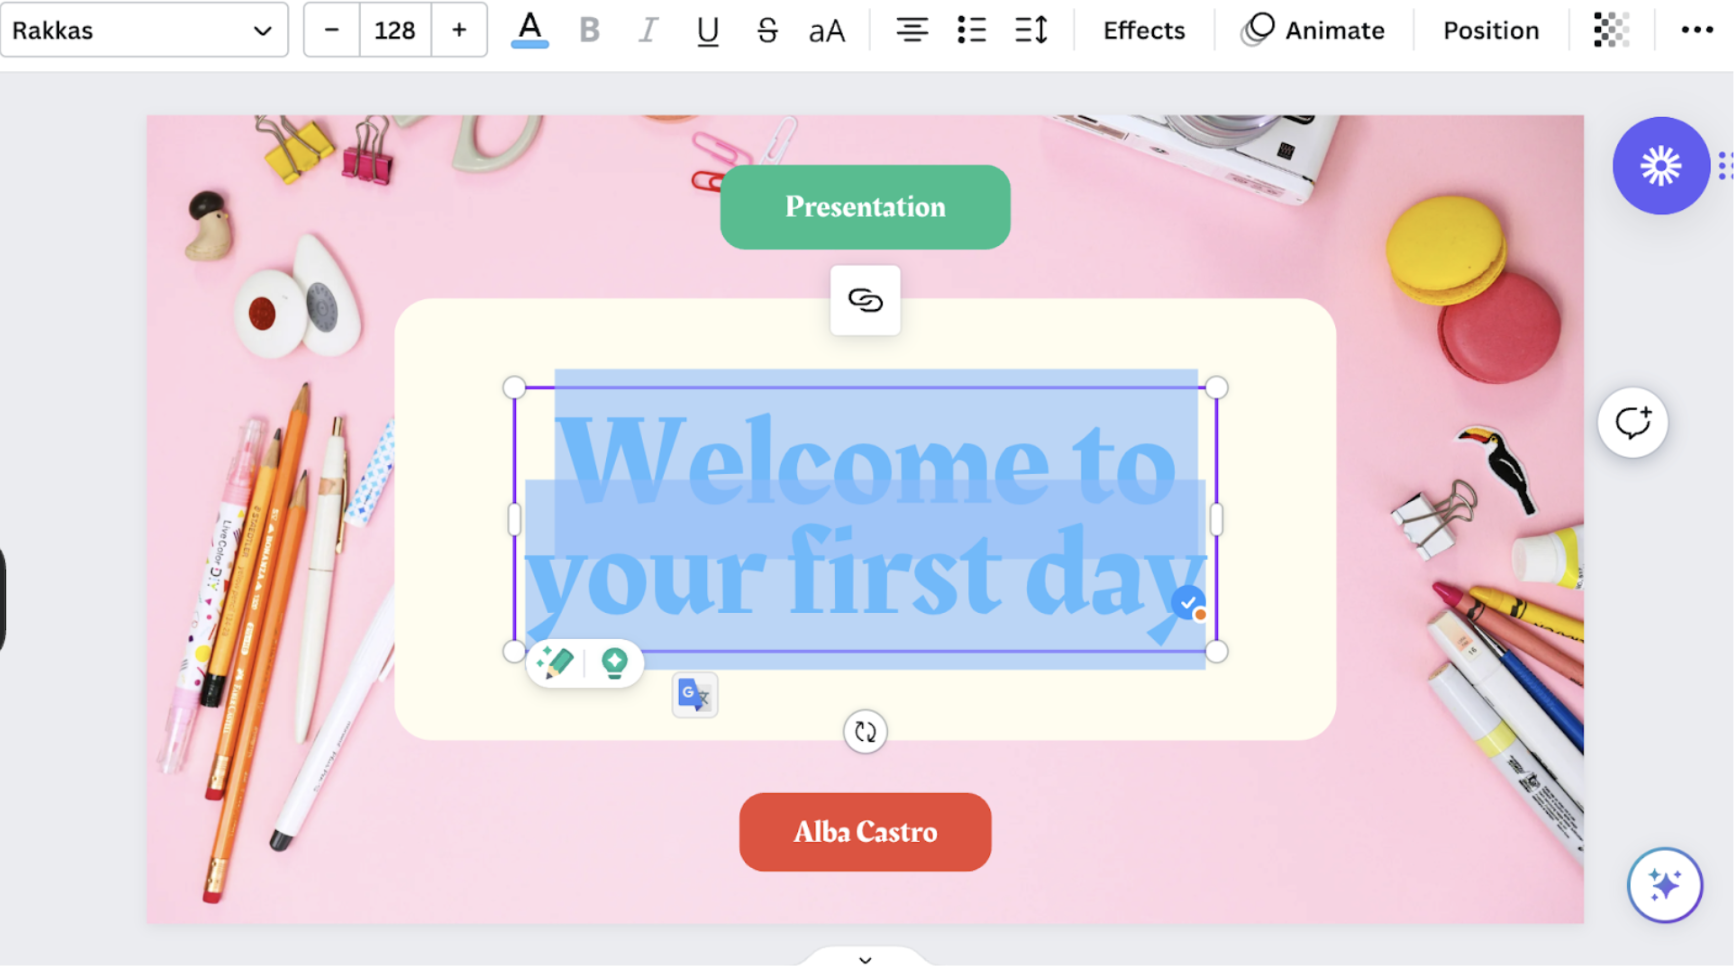
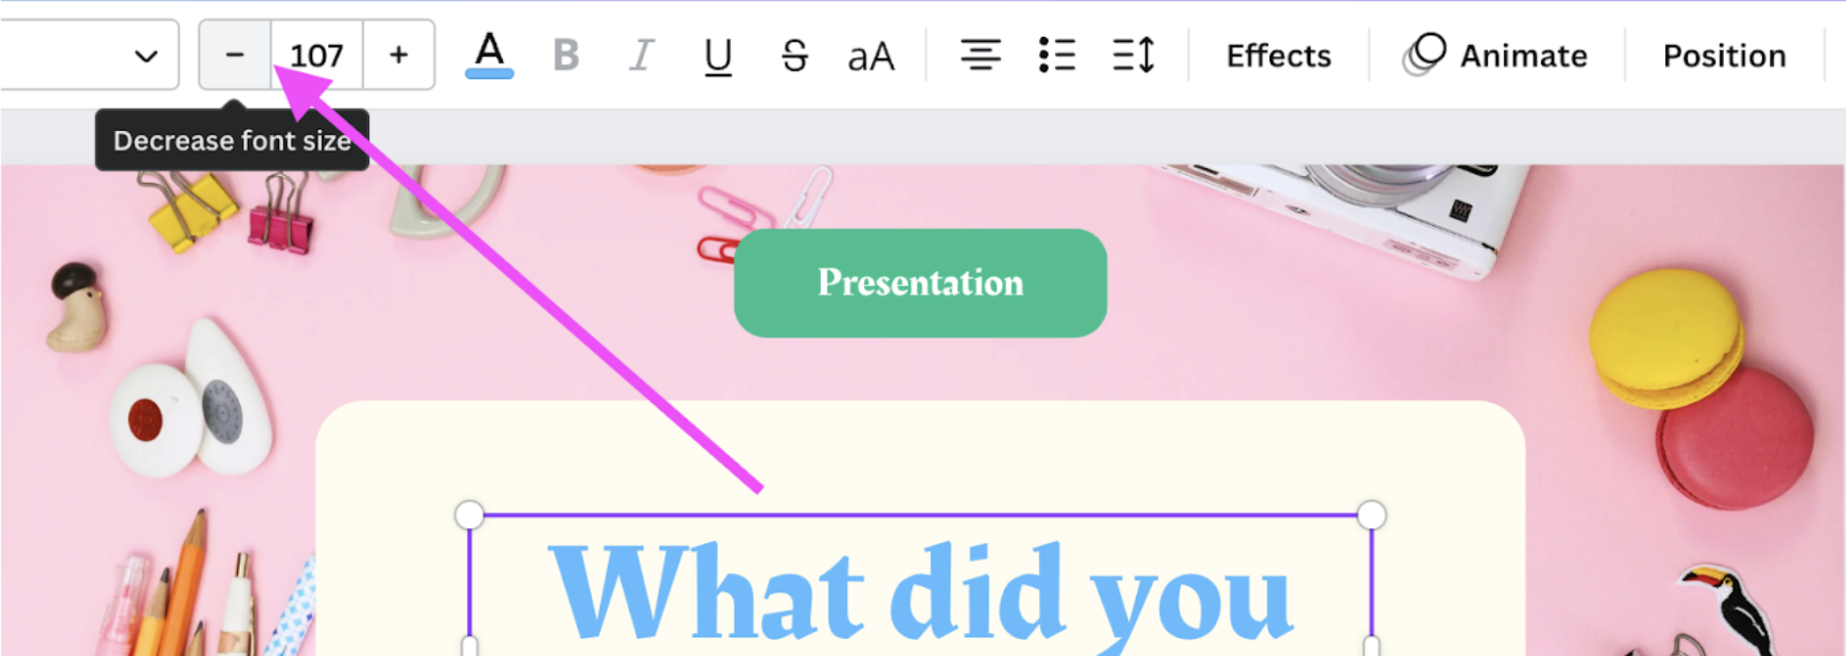
6. You can adjust the size of the text by using the plus and minus signs above the canvas.
7. You can recenter the text by clicking on it and moving it around; Canva will show you purple guidance lines to indicate whether it’s aligned in the center, etc.
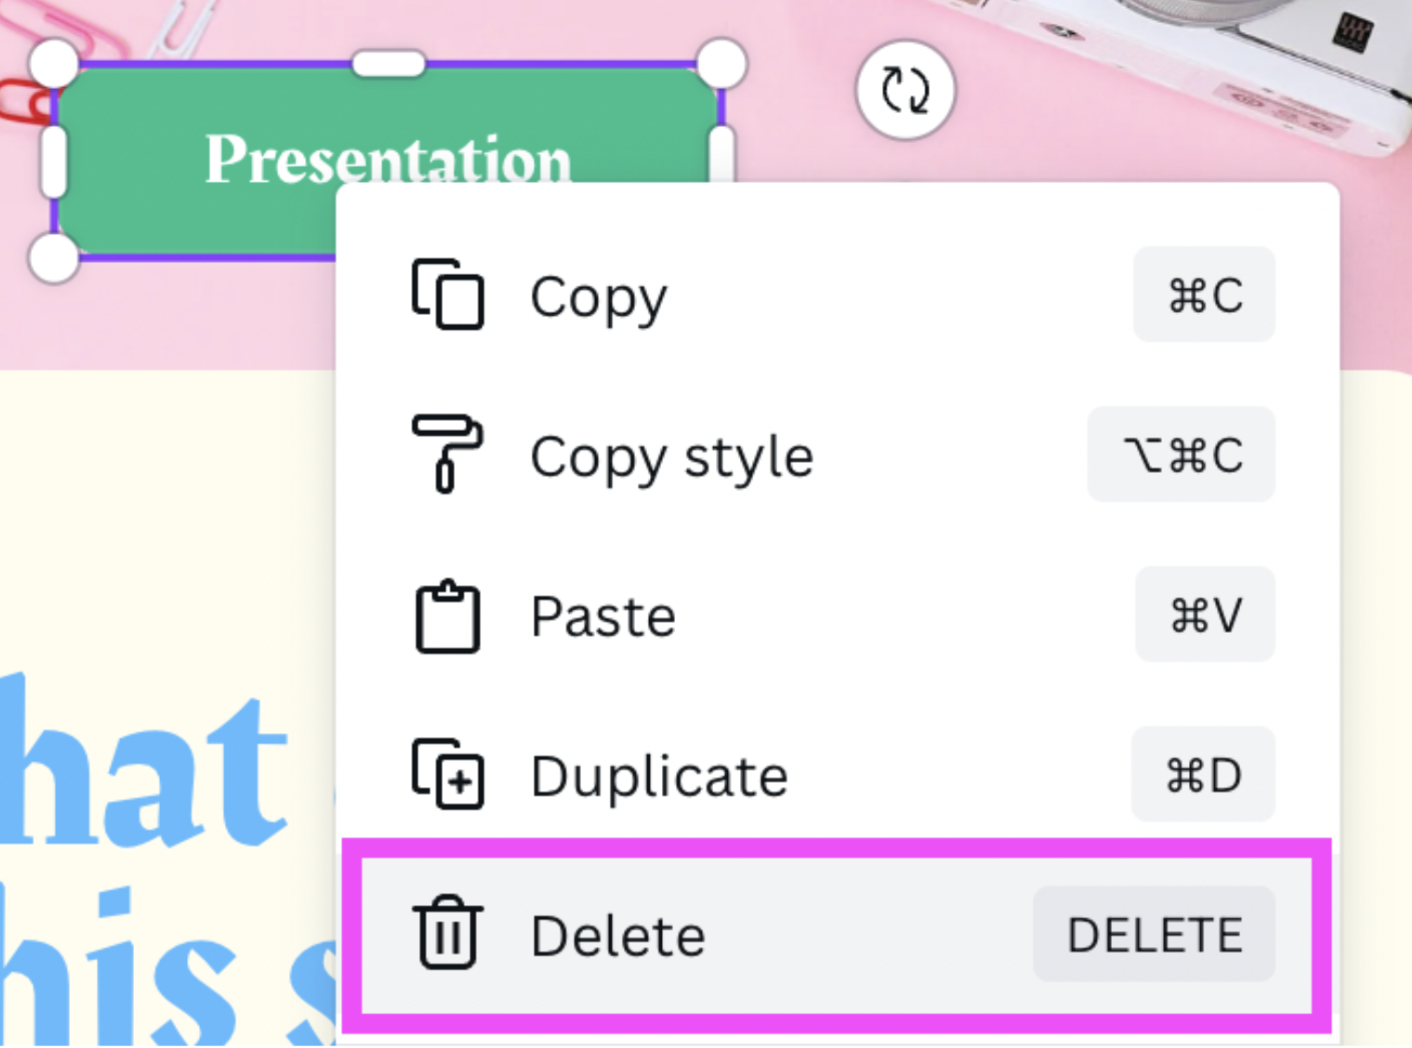
8. You can also remove elements by clicking them, right-clicking, and selecting > Delete.
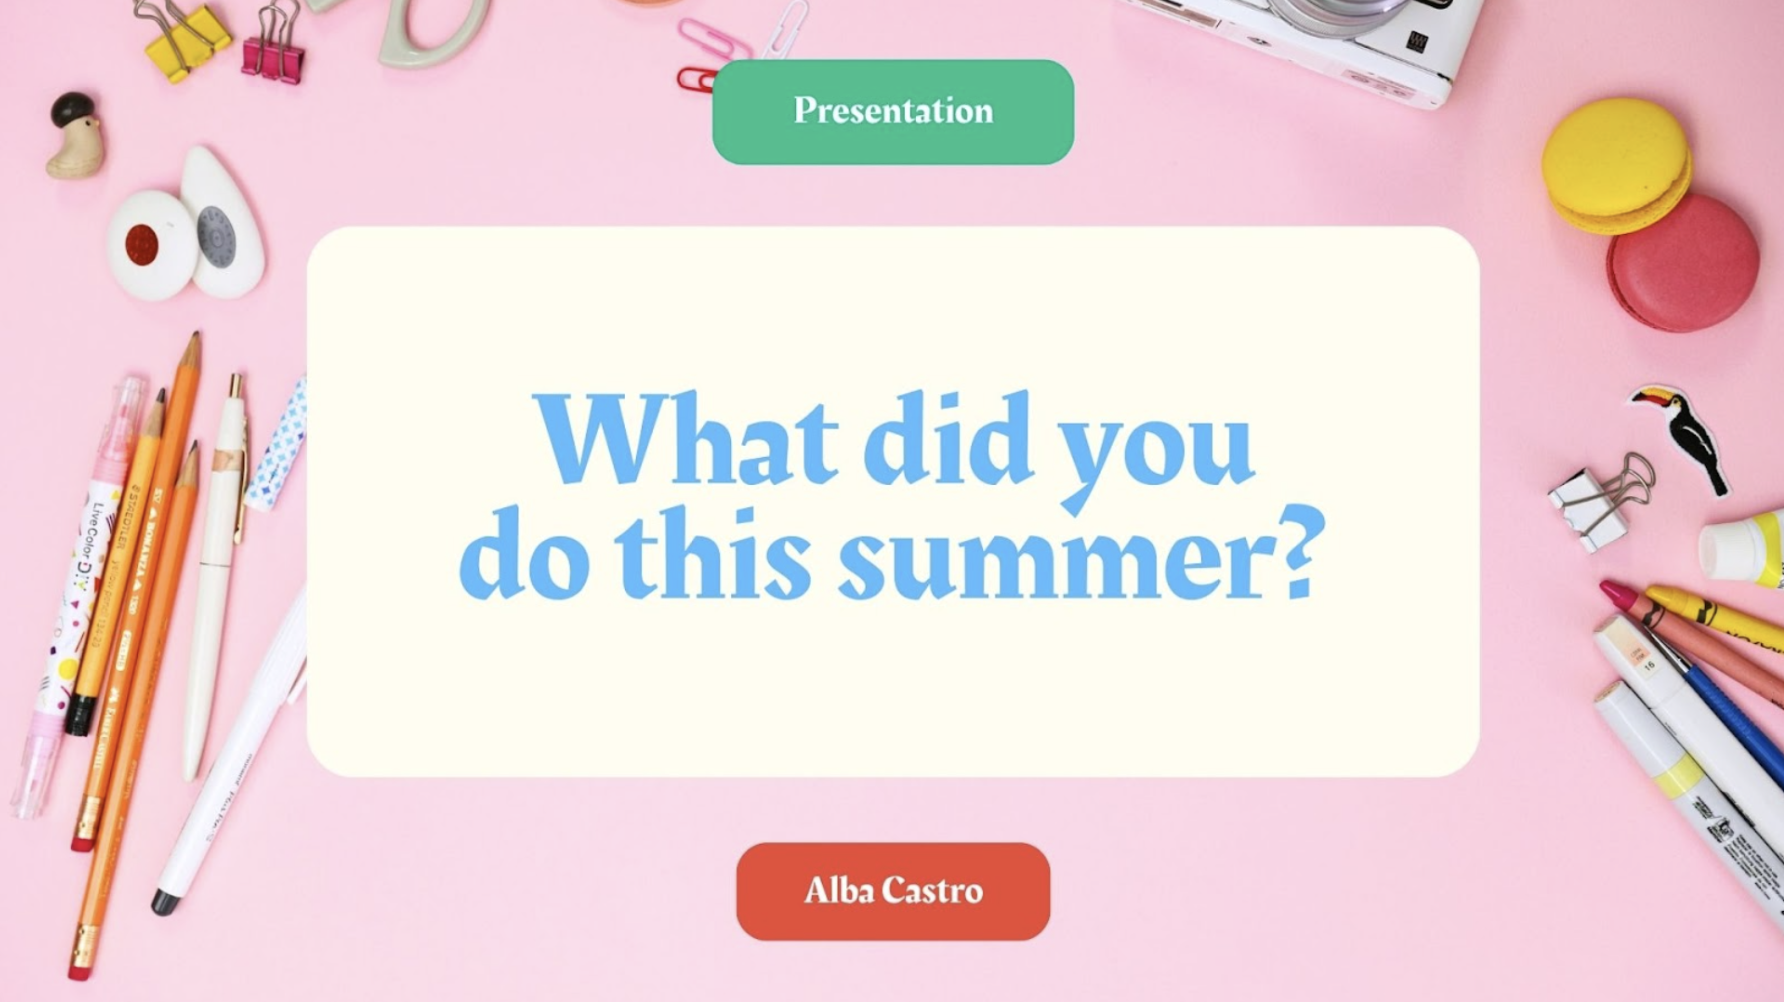
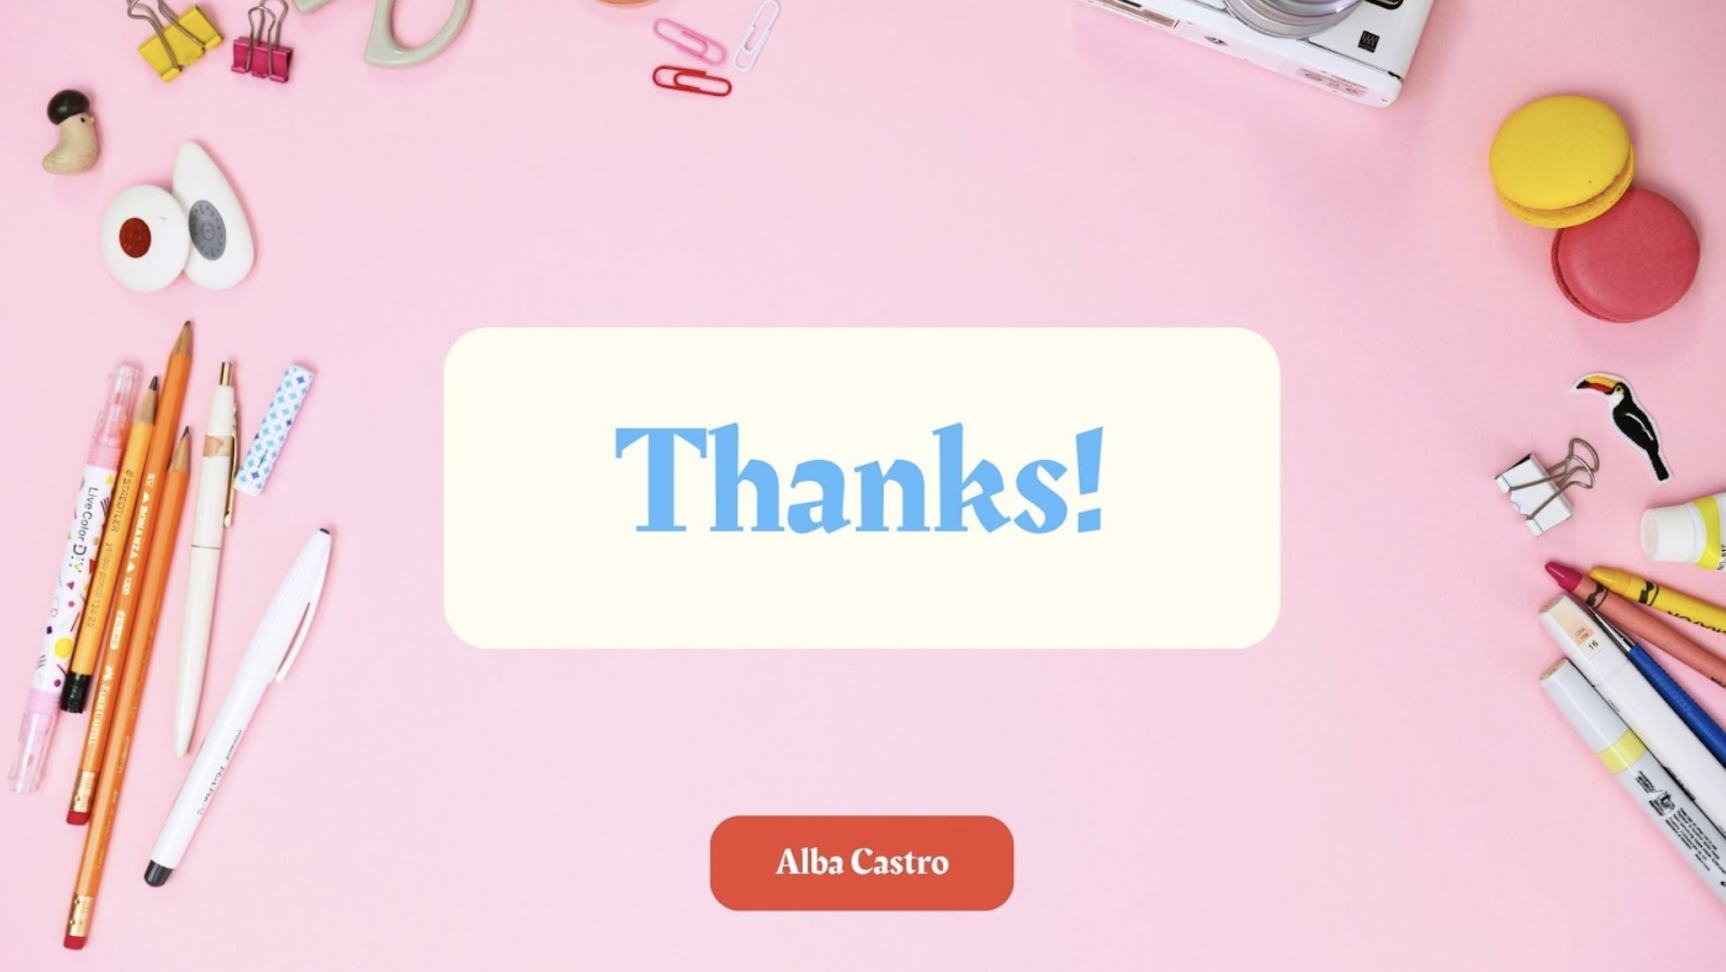
9. We recommend creating 3 slides in total to keep things simple: intro, main slides with questions, and outro. Like this:
How to present the back-to-school video presentation to your classroom
Now that you’re all prepped and ready to go, it’s time to present the project to your classroom. To do this, we recommend the following:
-
Explain the concept and show them your example video so they can see what their video can look like. Tell them to get creative; they can either:
Pantomime the activity or
Hold up a piece of paper with the activity
Split them into groups of 2–4 students and get them to start shooting videos with their classroom iPads.
Give them the worksheet where they can brainstorm ideas for their video. Ask them to pick one of the following as the question they answer in the video.
-
Now, it’s time to explain to them how they can create the video. Here’s the step-by-step:
They need to film themselves. A short 3-10-second clip will do.
-
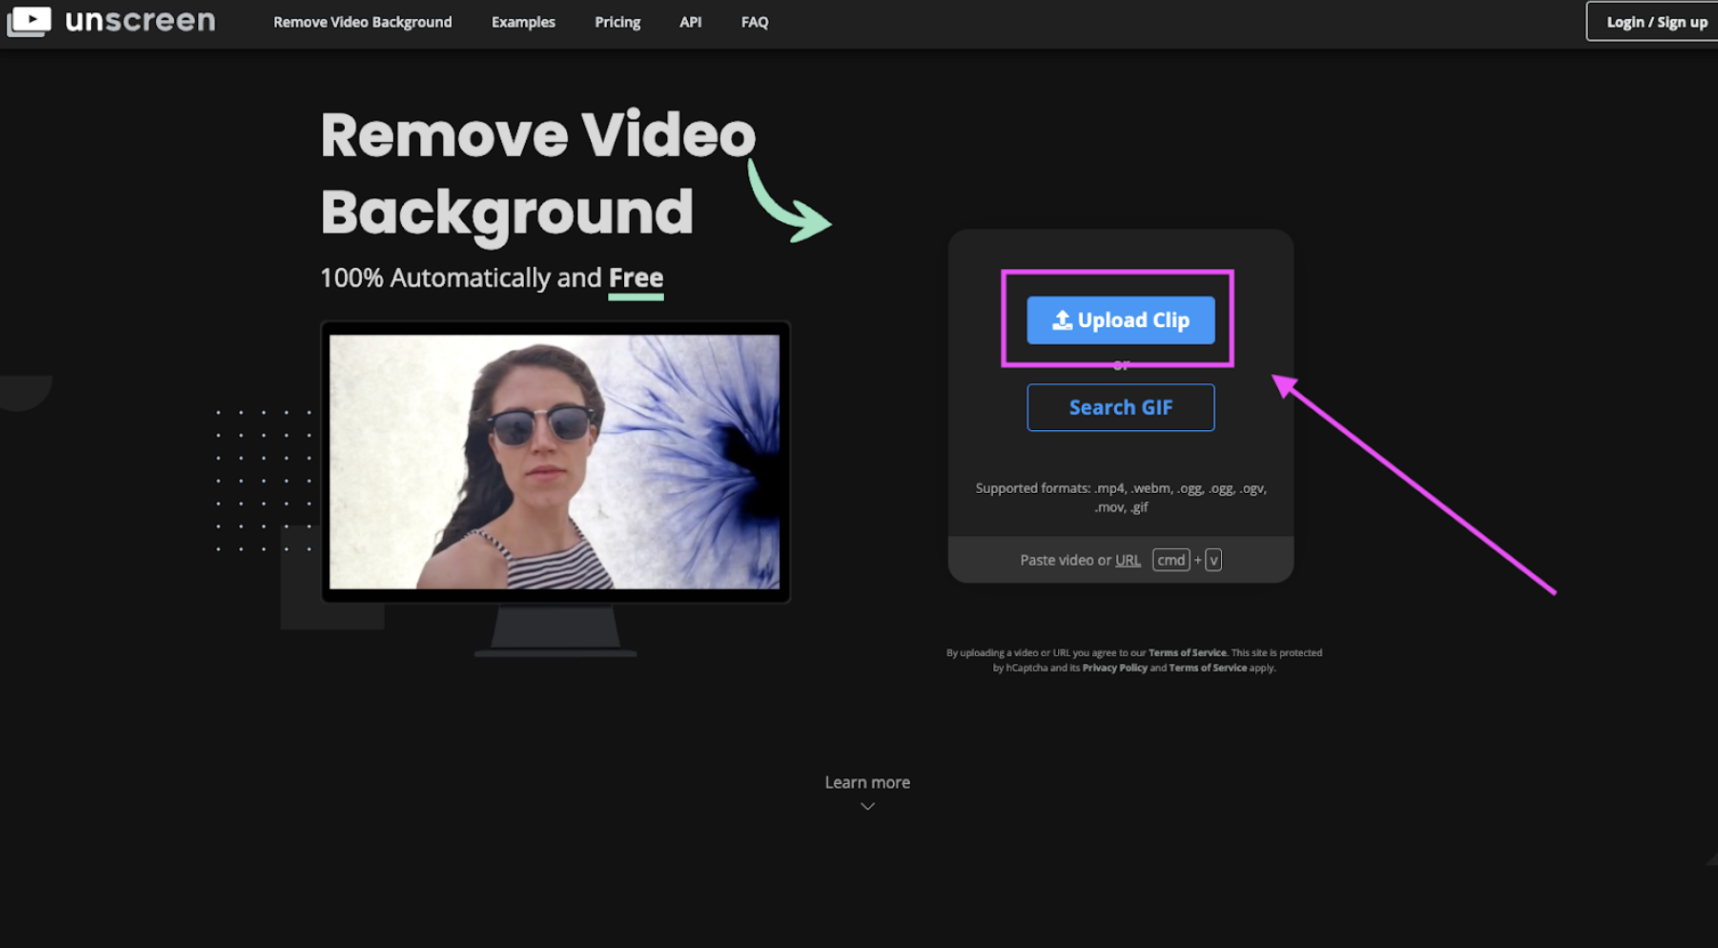
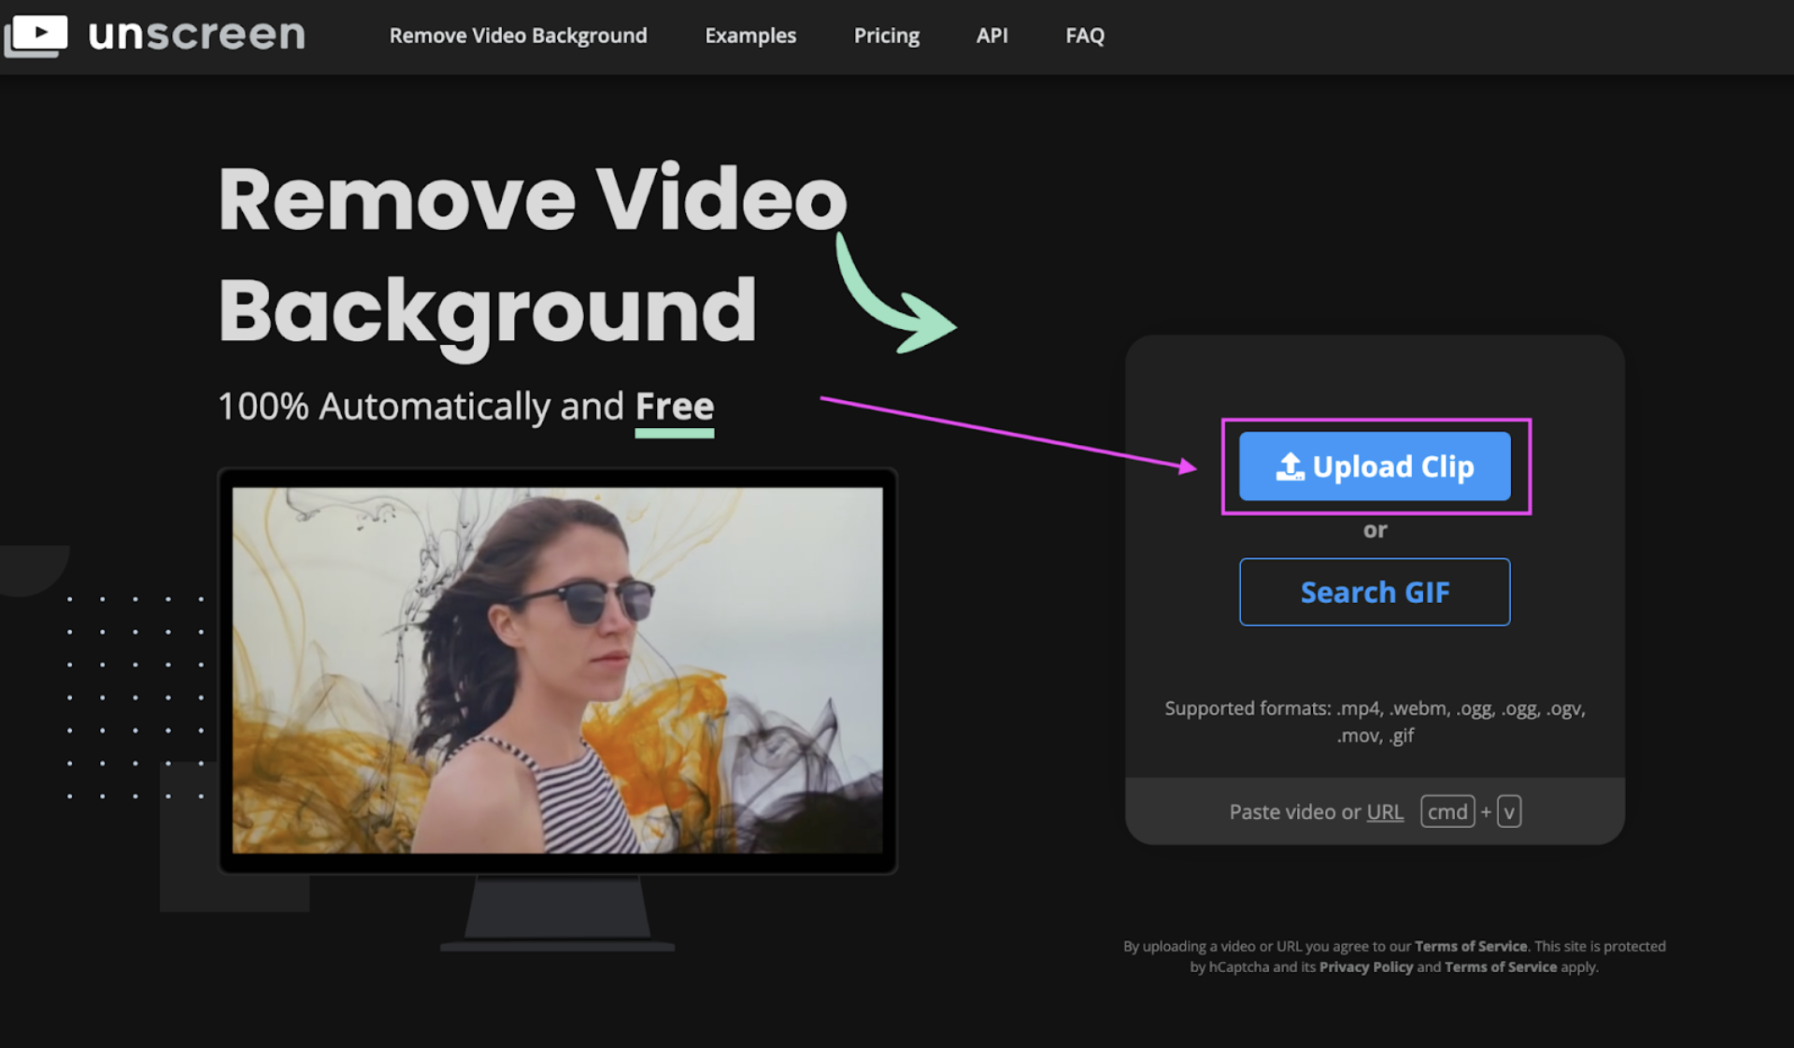
Then they have to tap on > Upload Clip and select the video they just shot on their tablet.
-
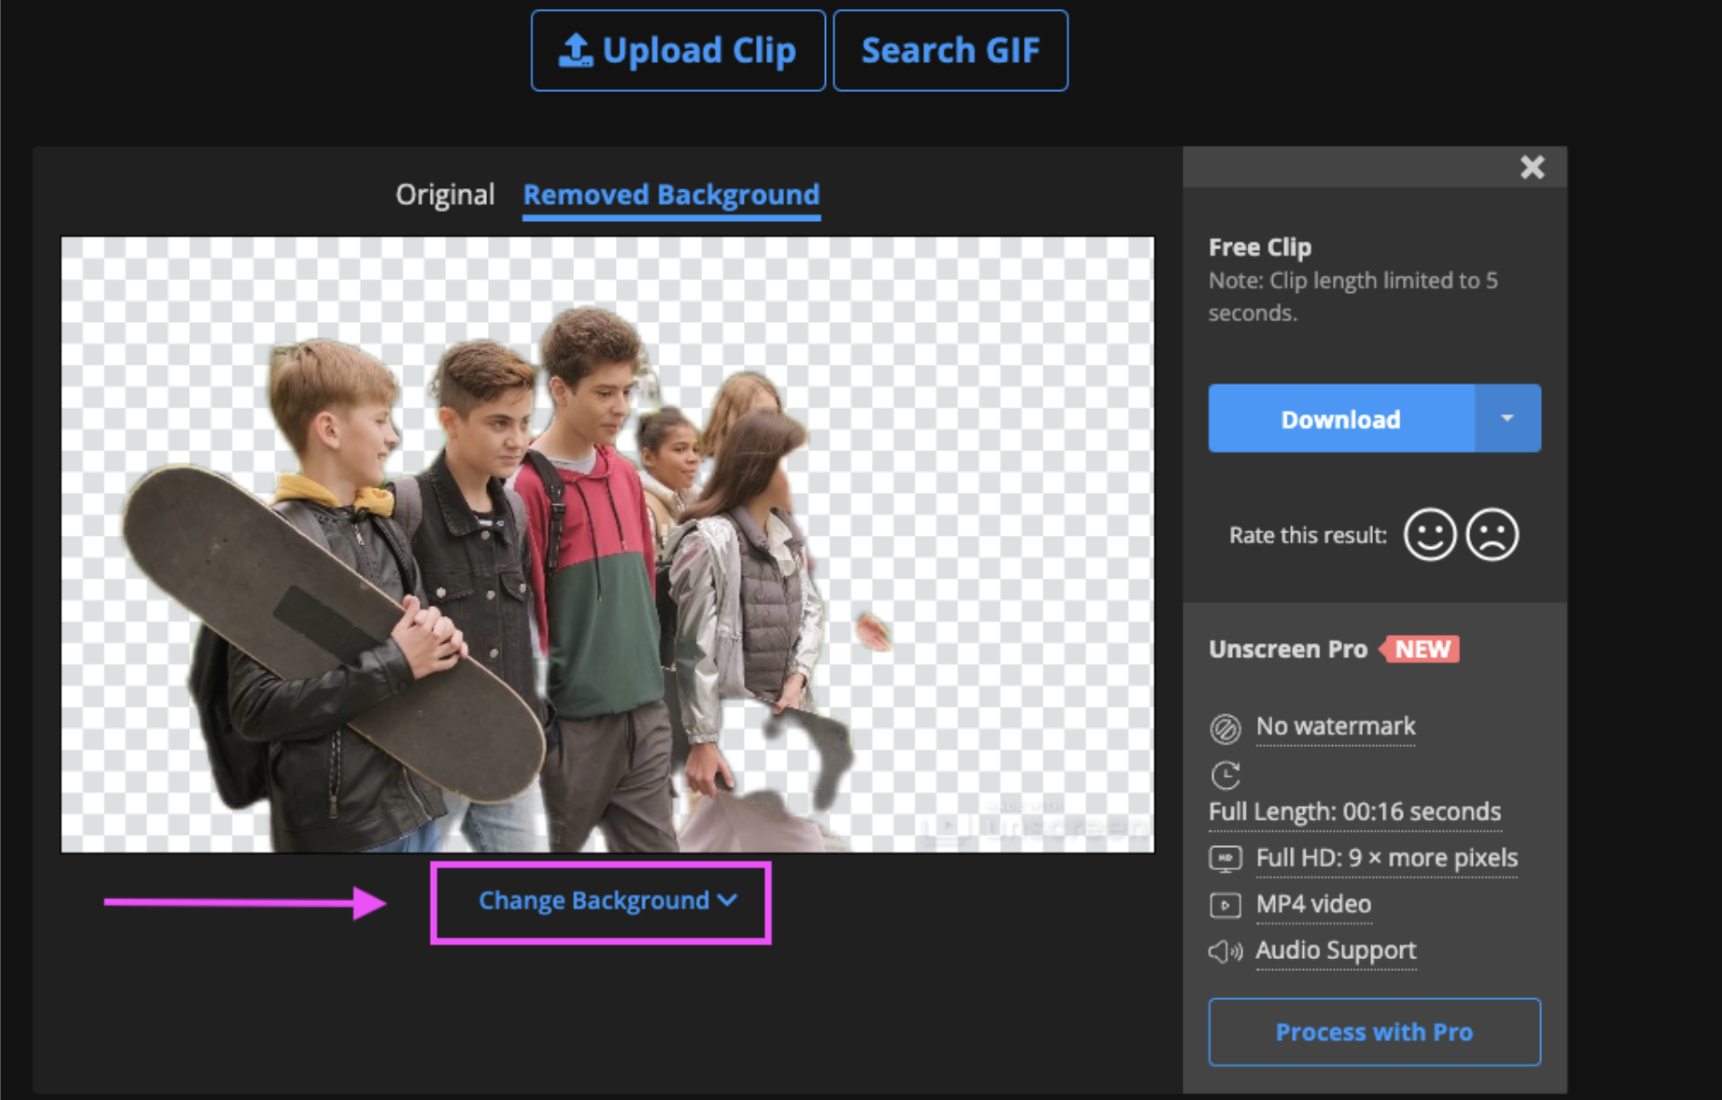
We used these kids walking with their skateboards as examples. Your students can then play around with changing the background of their video by going to > Change Background.
-
We selected the wave background — a student might want to tell the story of going skating and to the beach a lot during their summer break, and this would be the perfect combo.
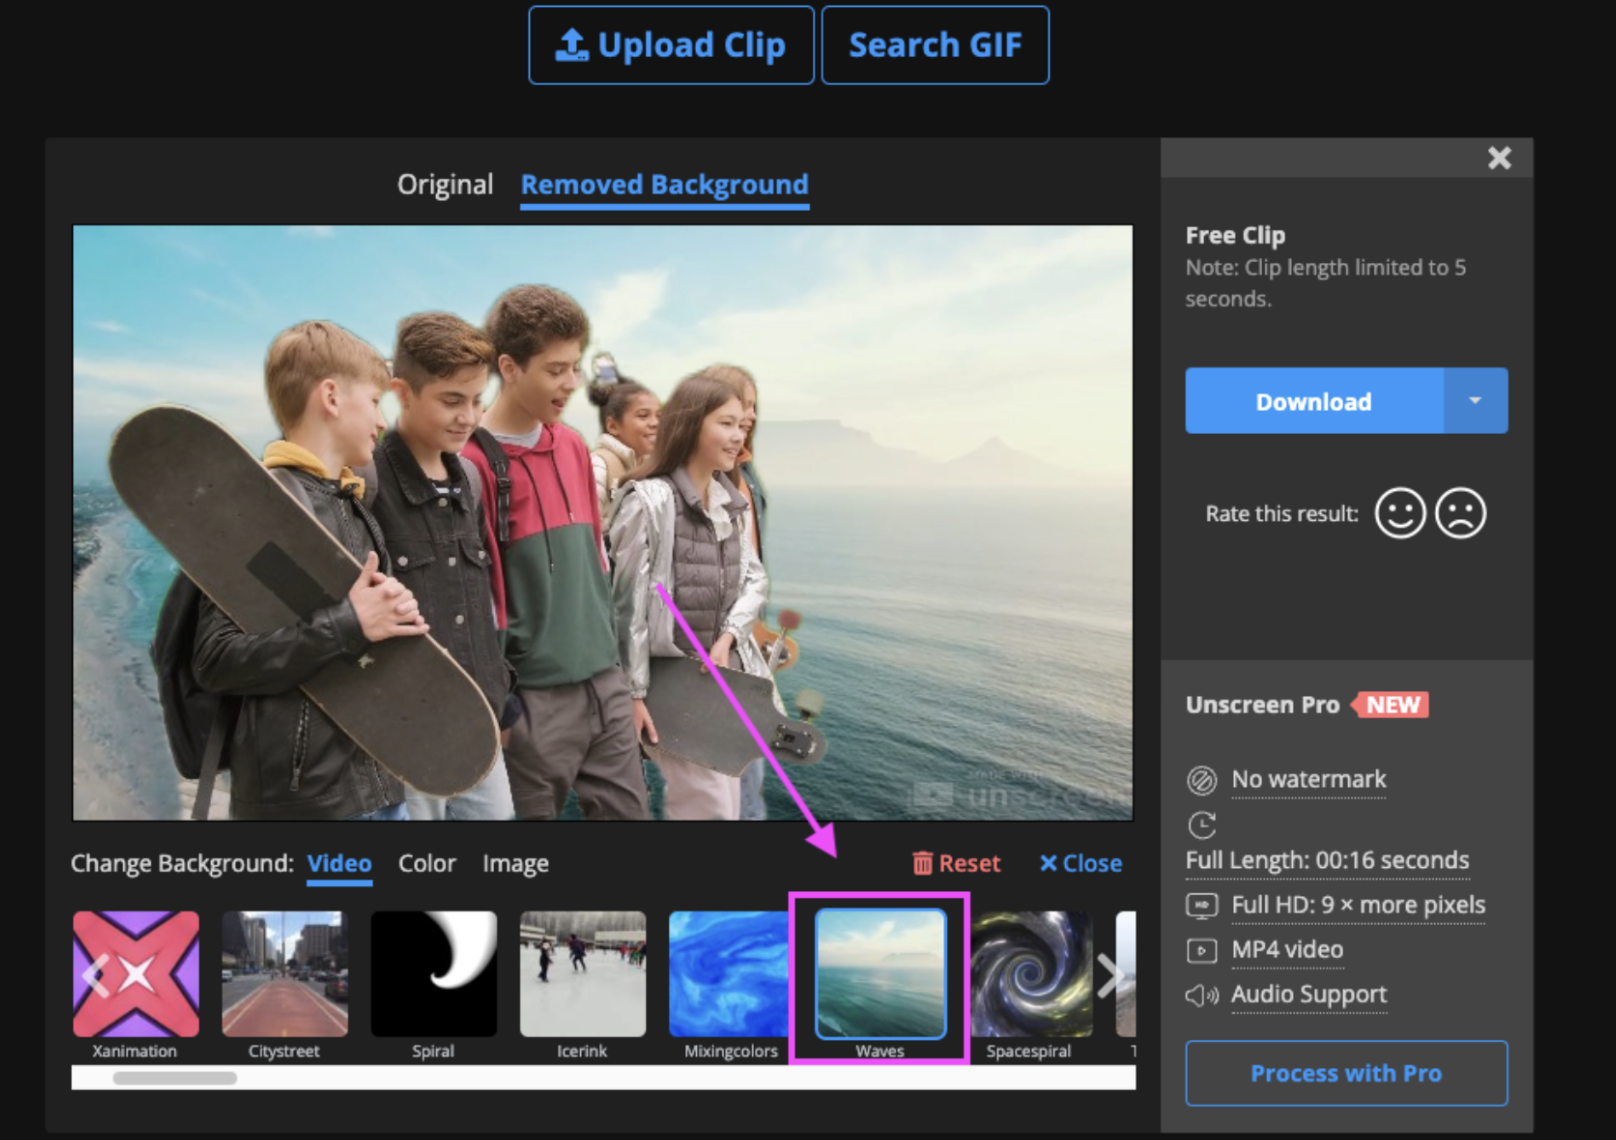
-
Of course, there are only a few preset backgrounds, but the kids can also search for backgrounds by going to > Search Background.
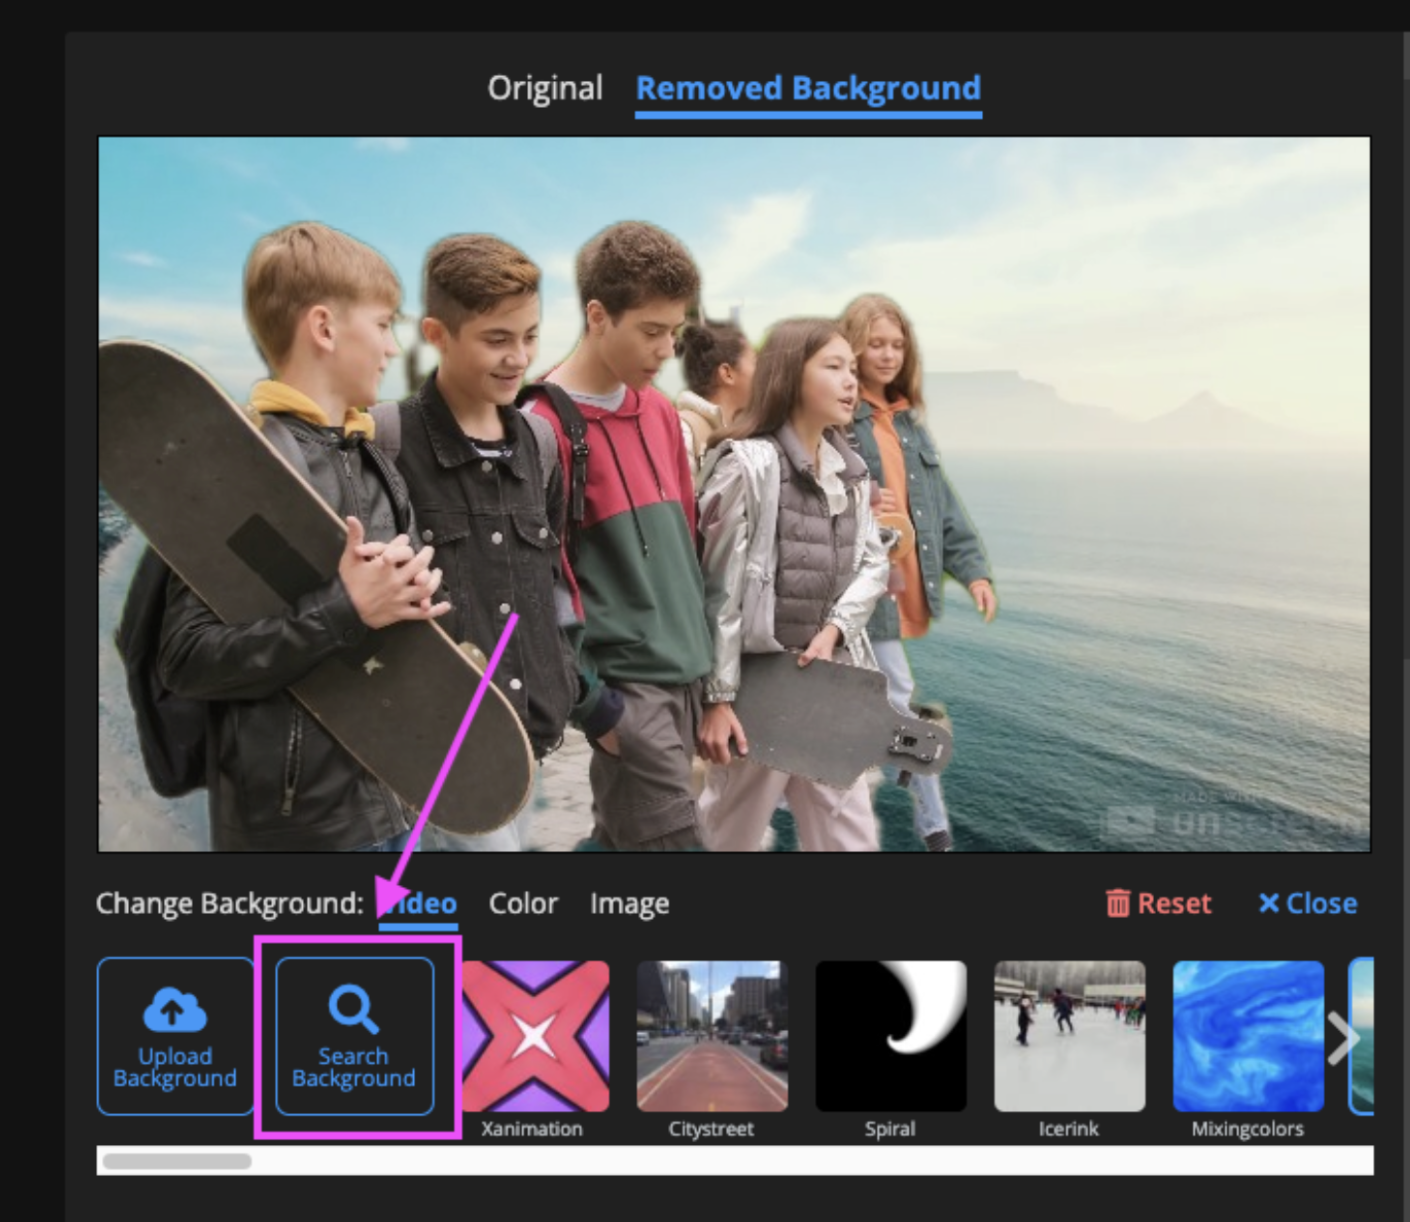
-
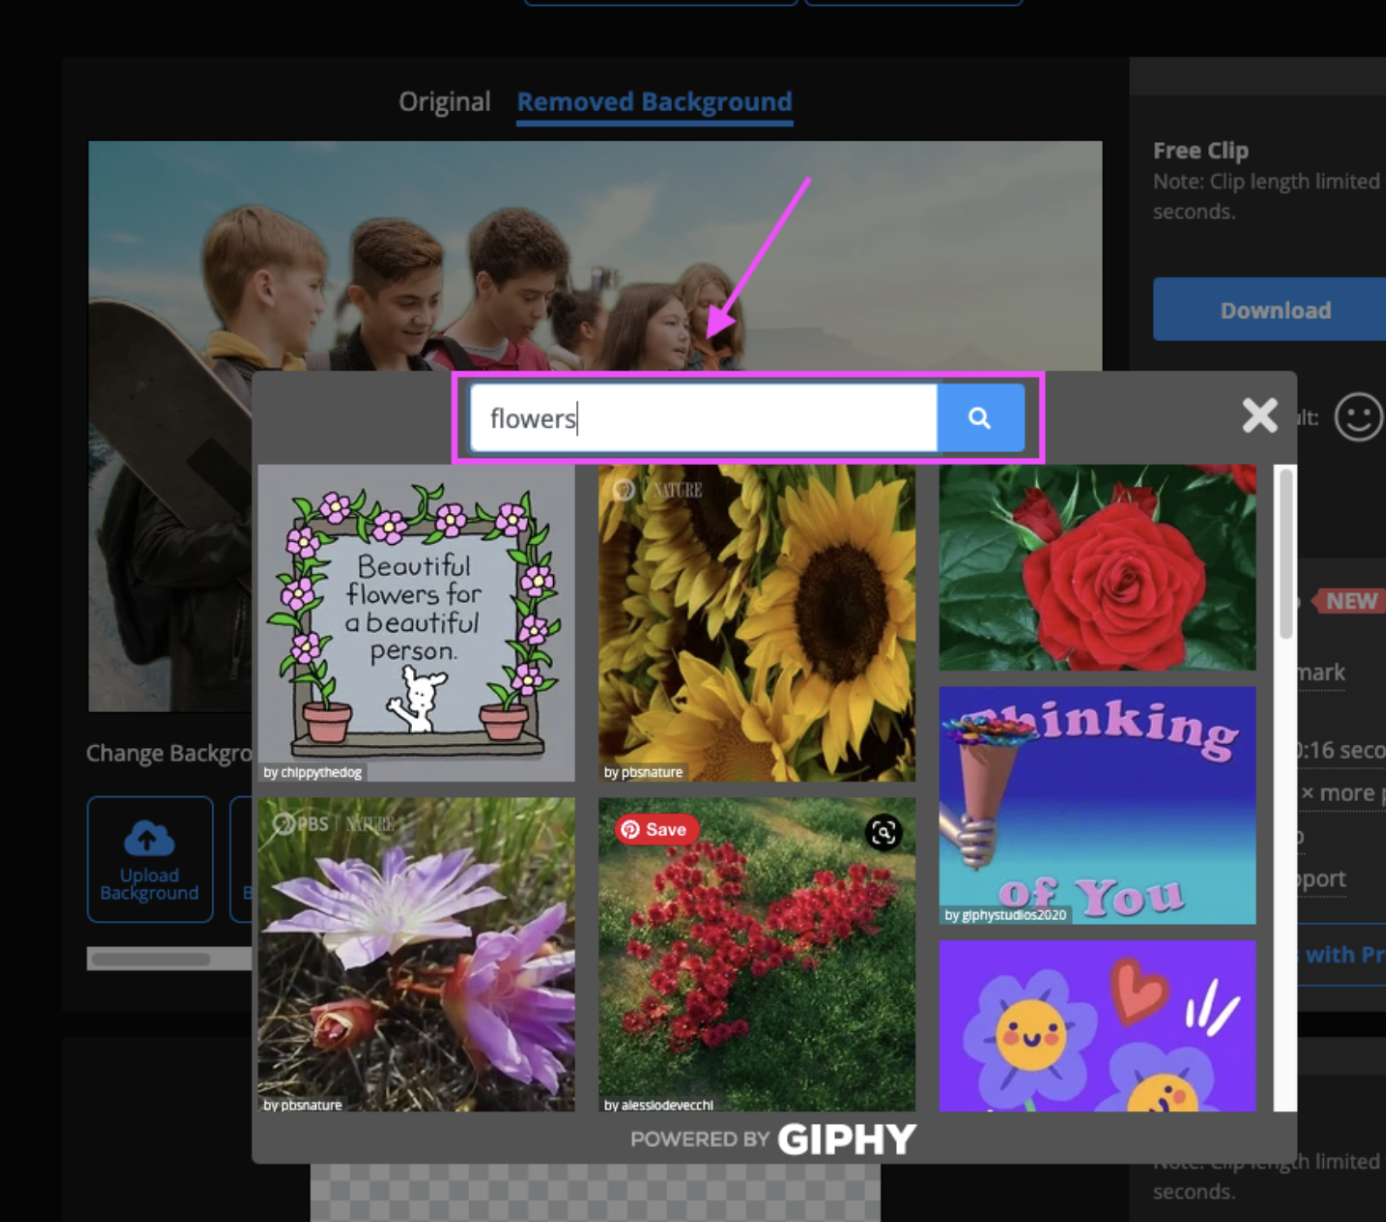
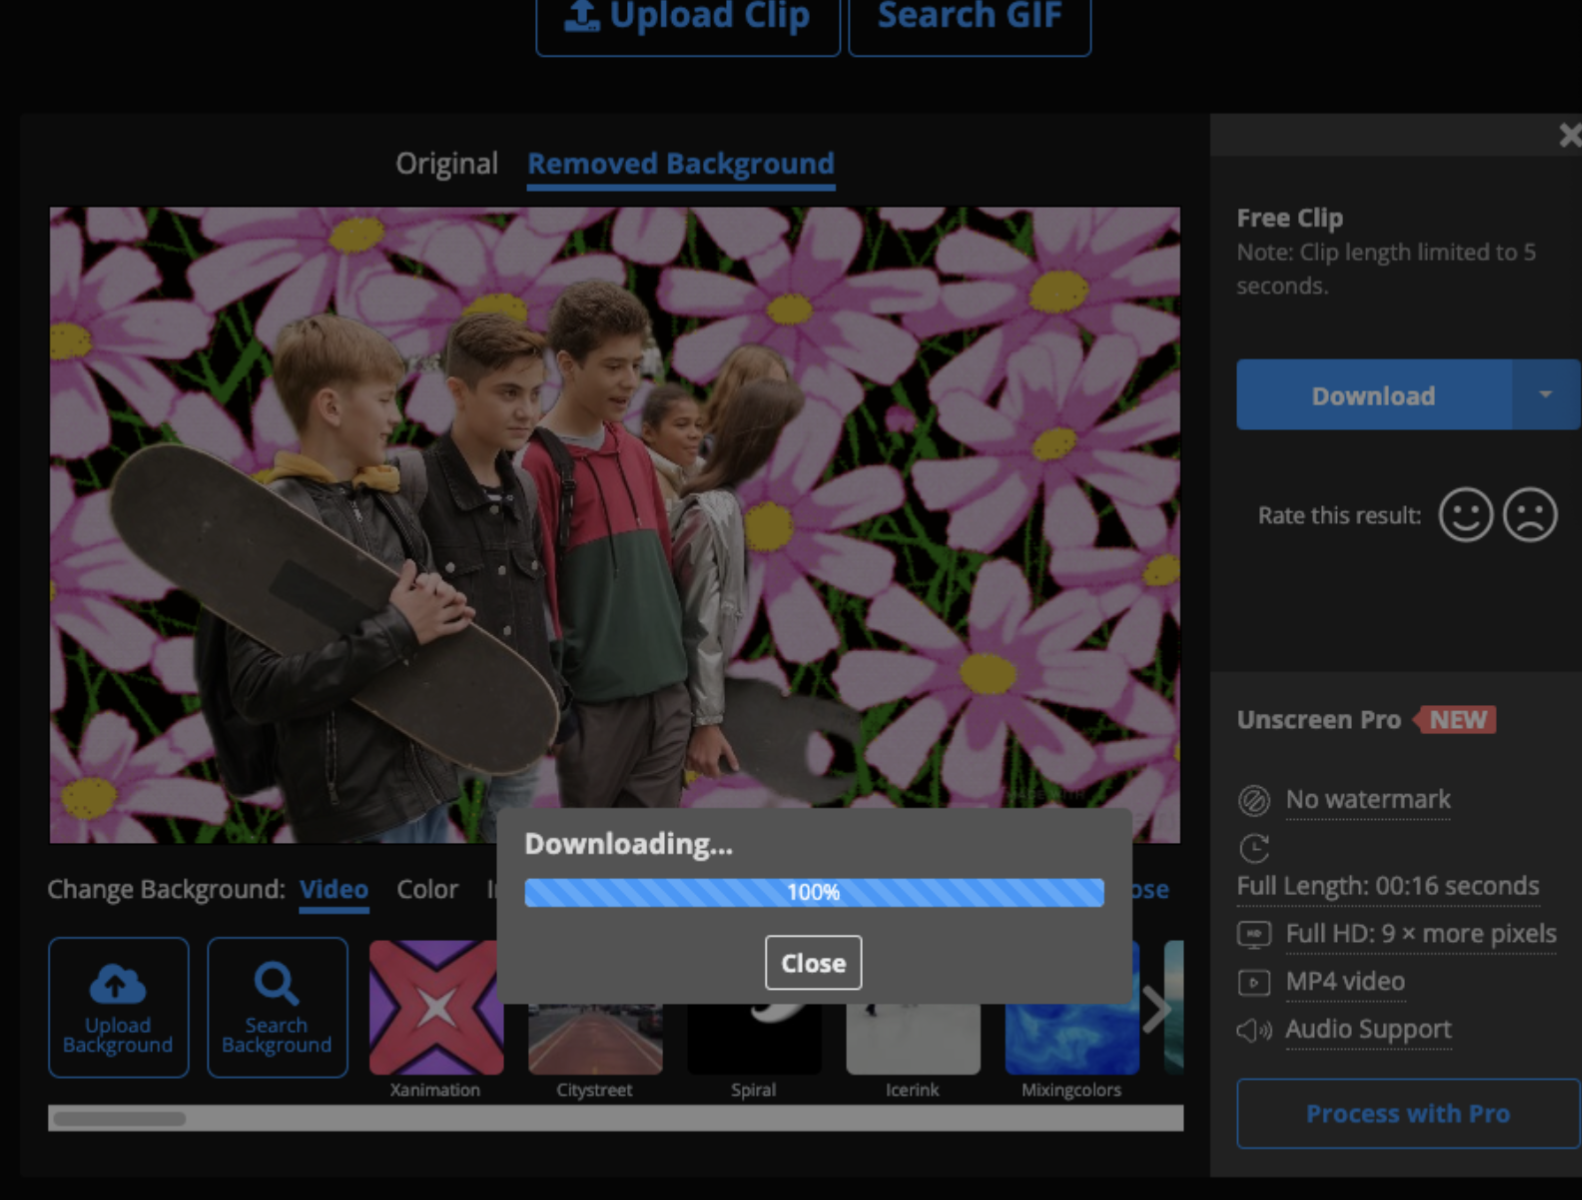
We went ahead and typed in flowers; if a student, let’s say, wants to tell the story that they went skateboarding and flower picking with their grandmother.
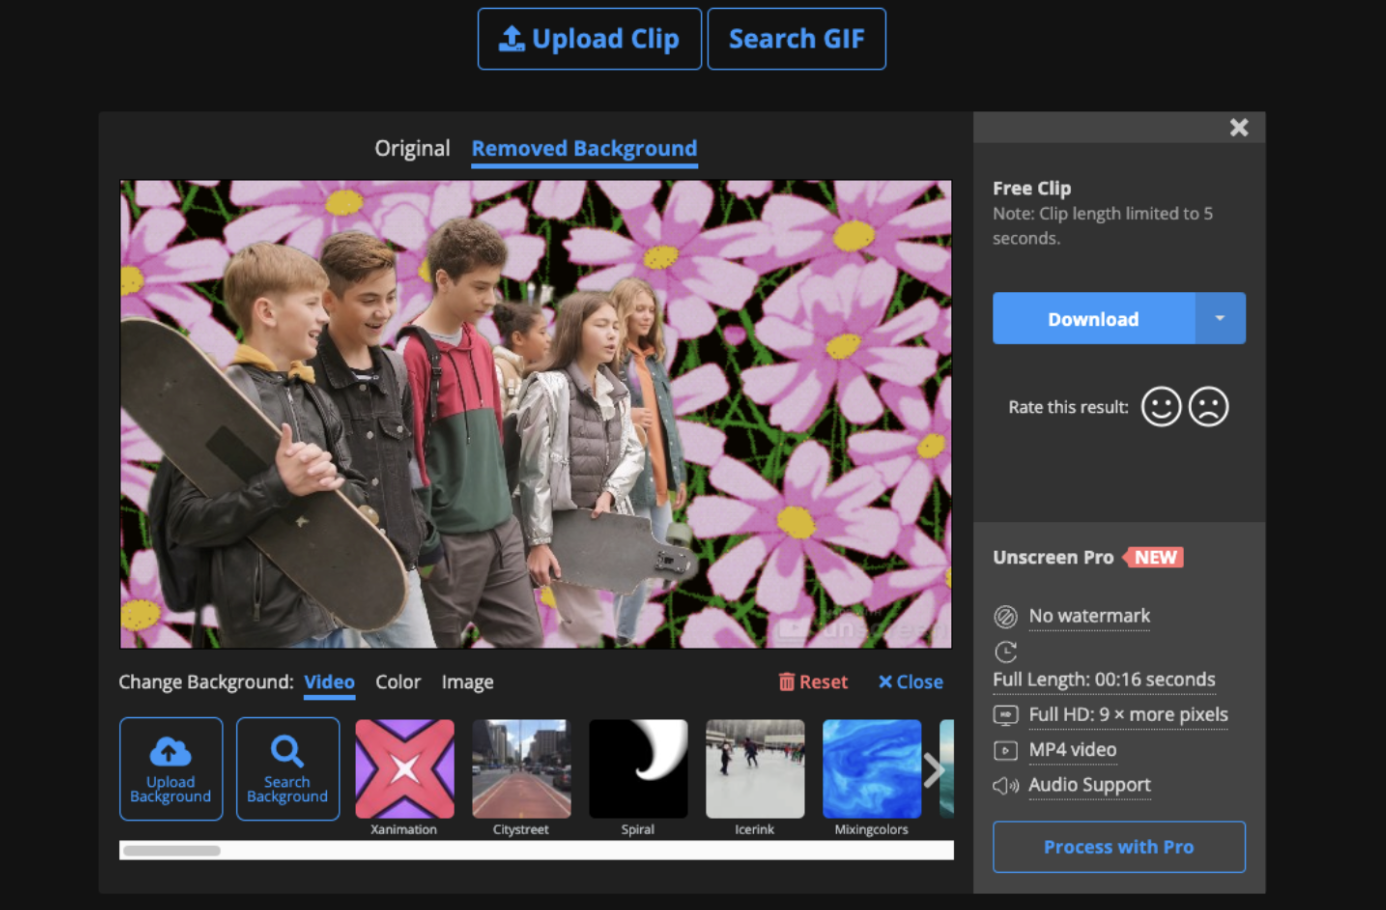
The kids really can get creative and play around with different backgrounds. This is the end, but once they’re happy — they can go ahead and download the video by tapping on > Download. It will then take a couple of seconds to download.
-
This will be in a GIF format, which you (and the kids) can upload to their slides. If you want to create MP4 videos, you can sign up for Unscreen Pro.
5. To finalize the slides, the kids just need to go back to their Canva presentation click on Uploads > Upload Files.
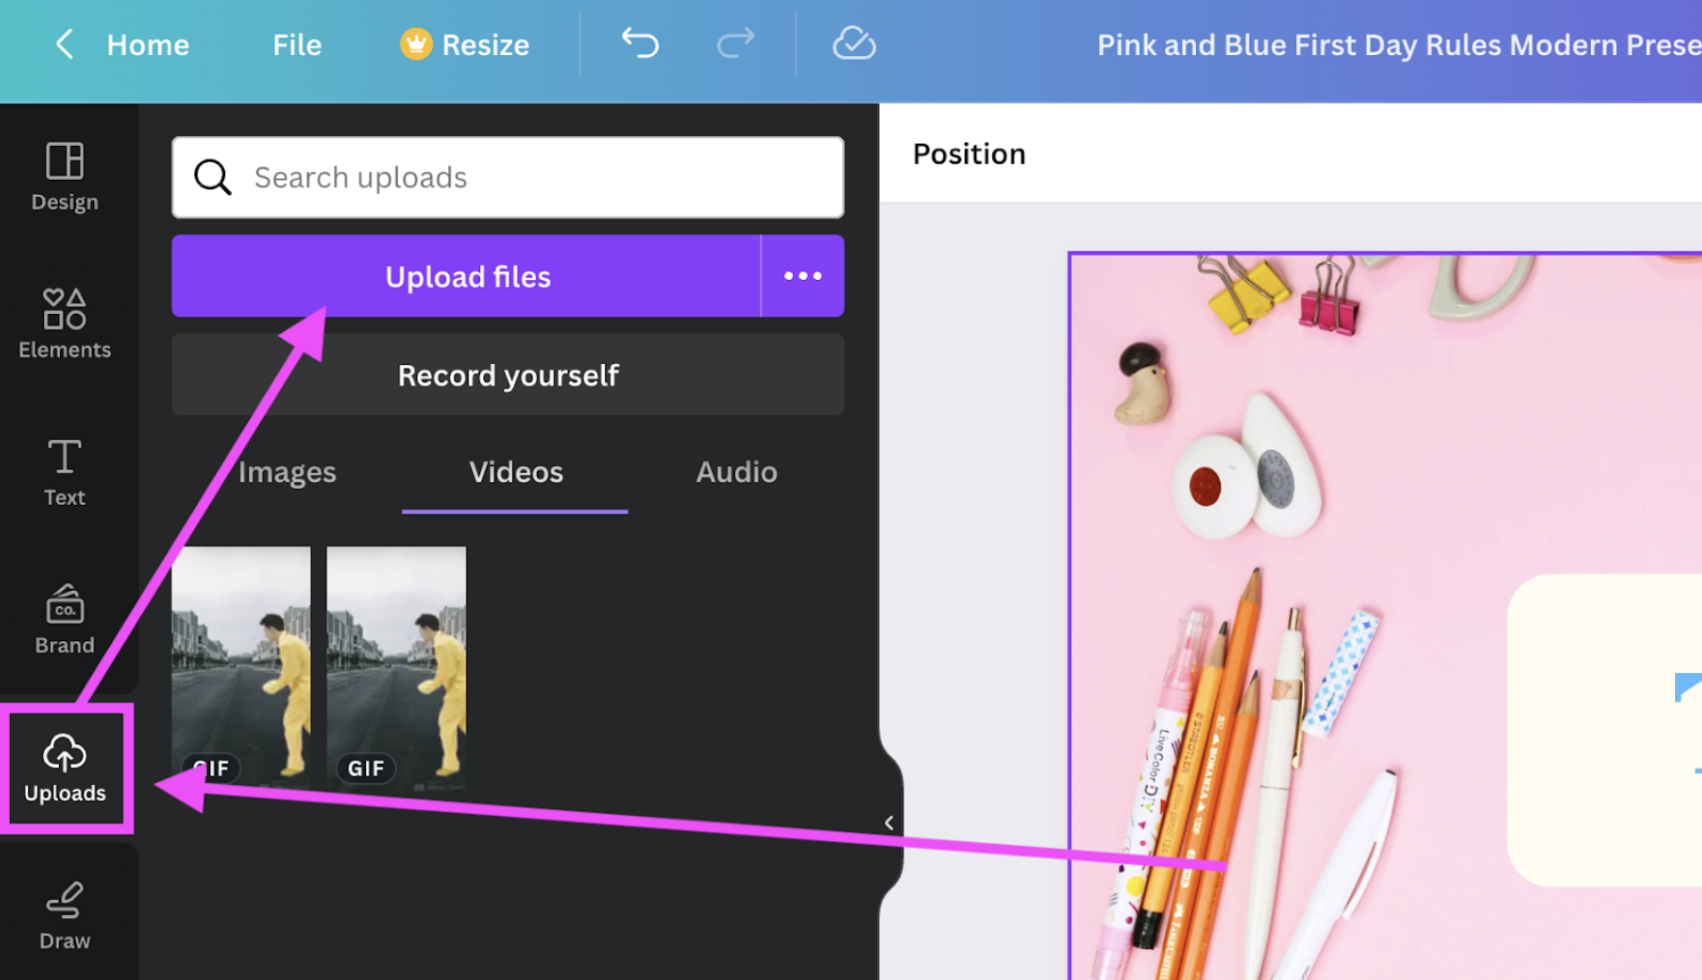
It will end up looking like this:
And that's a wrap on how to get your kids to create a back-to-school video presentation. But you can initiate plenty more video projects to keep them busy during the semester.
How to recreate a moment in history with Unscreen
You can also get the kids to recreate a moment in history and present it to the class. To do this, get them to:
Pick a moment in history they’d like to represent, like the American Revolution, Independence Day, the Boston Tea Party, or WW2.
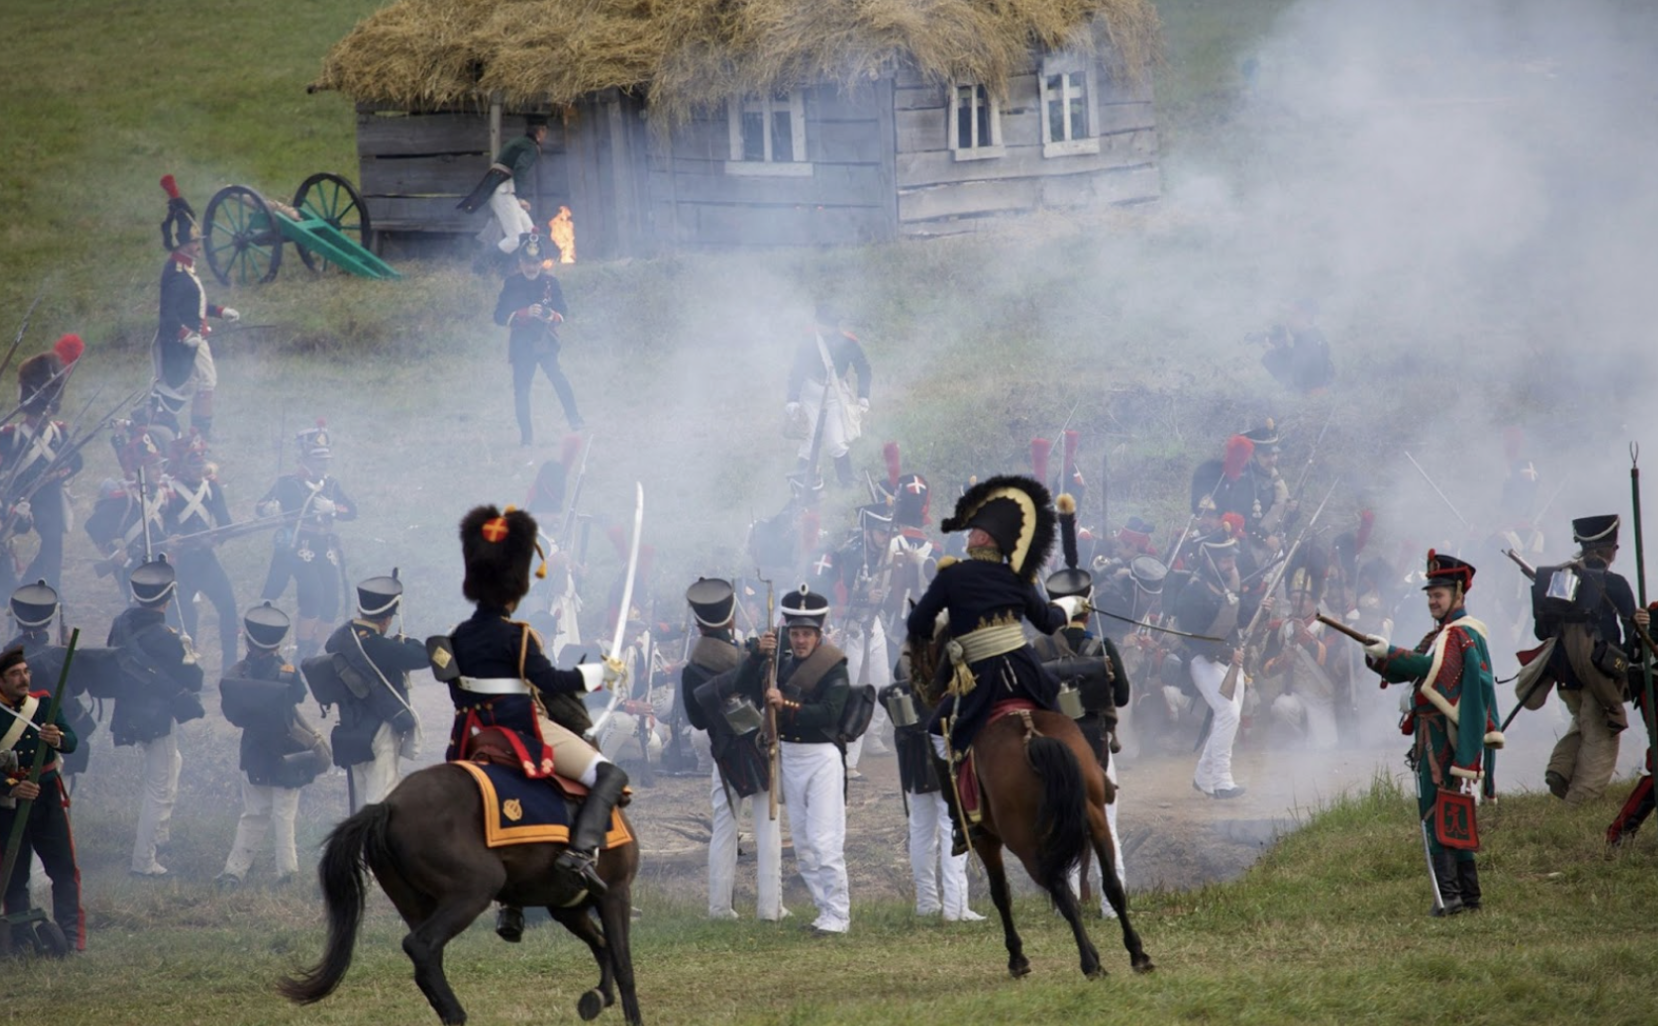
Now get them to grab their iPads and start filming a video where they’re acting out a scene similar to the moment in history. They can use their books to find images of inspiration.
It could be something like this:
3. Now they can hop on over to Unscreen to change the background of their video to match the scene of the moment in history — think battlefield etc. We went ahead and used this background.
4. Go to Pexels and select a photo for the new background.
5. Now go ahead and go to Unscreen and upload the video of the kids acting out the scene. In a few seconds Unscreen will remove the background.
6. They can now change the background by going to > Change background and uploading the image they like.
7. To download the video GIF, they simply have to select > Download.
And that's it! How to recreate a moment in history. Every student can come up to the top of the class one by one and show their GIF. They can then explain and present what moment in history they reenacted and how it shaped our society.
How to create a book trailer with Unscreen
The next video project idea is getting the kids to create a book trailer for their latest favorite read.
What you need to prep for them to create a book trailer
To create the book trailer, get the kids to:
Grab their favorite book, ideally a novel with a blurb of the book's contents on the back.
Split them into groups of 2-4 and get them to choose one book per group.
-
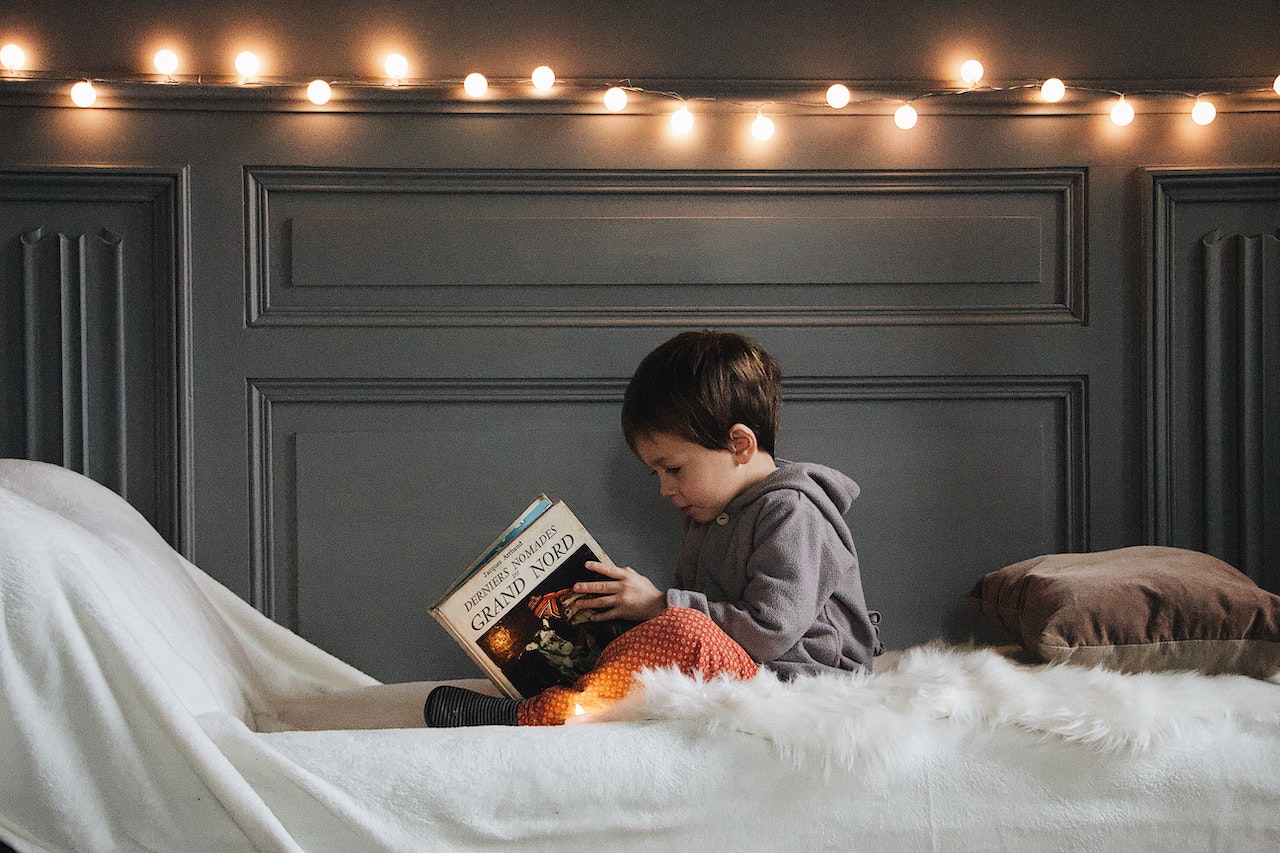
Then, get them to reenact their favorite scene from the book. Something like this:
To change the background of the video, let them go to Unscreen and upload the clip they just recorded by clicking on > Upload clip.
5. Within seconds, Unscreen will remove the background of the video clip. Now the kids can add a background that matches the scene they want to portray from the book.
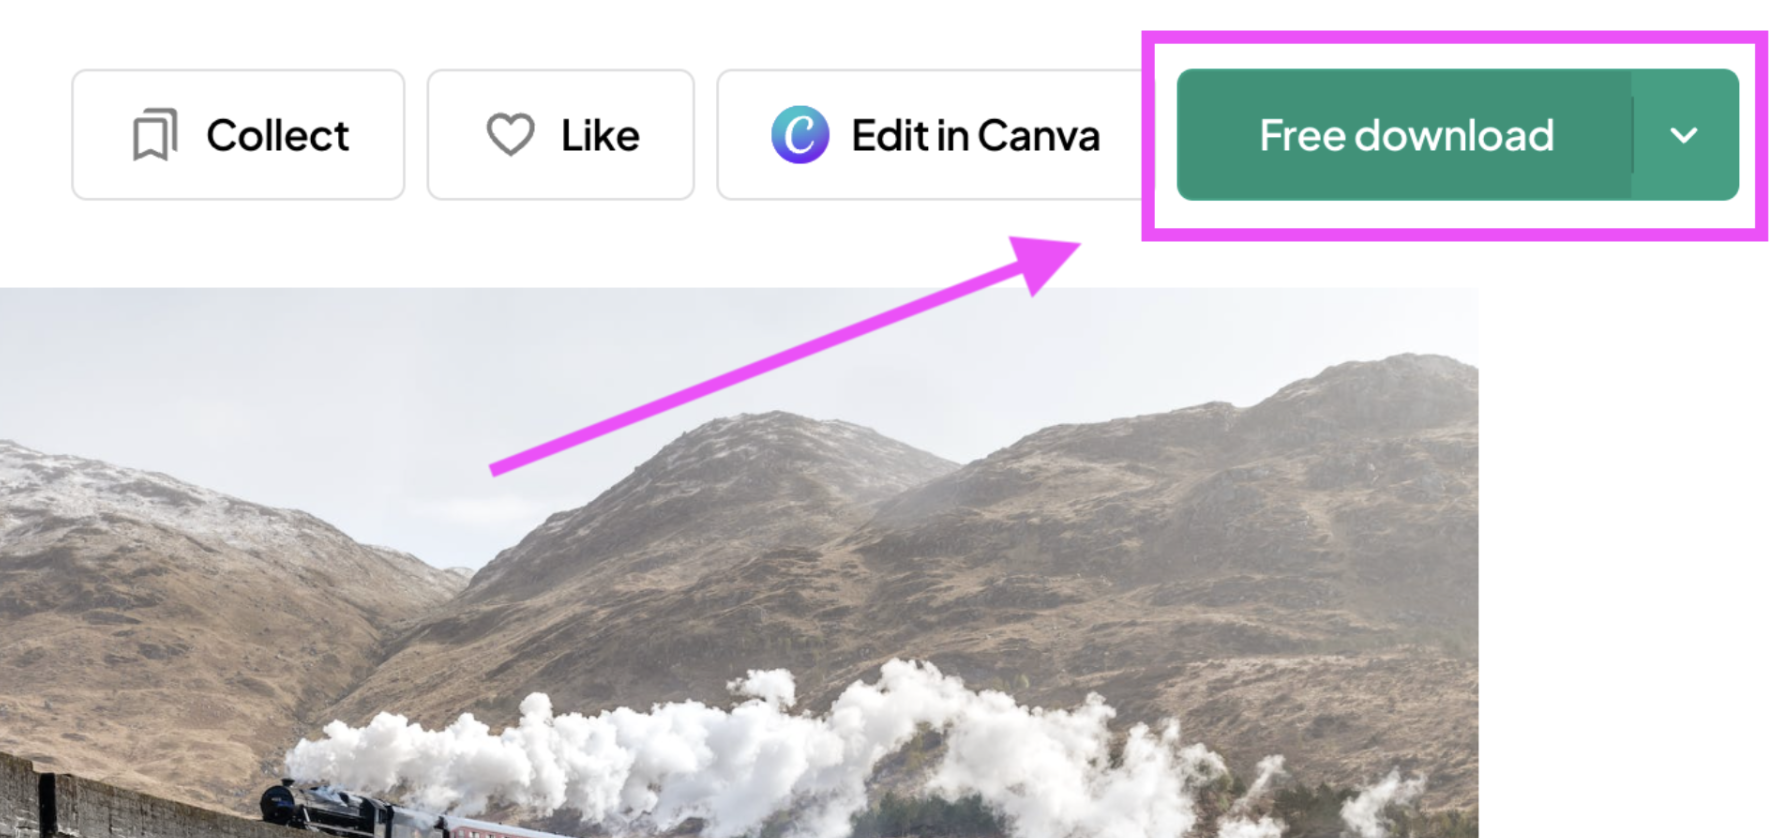
6. They can go to Pexels to find a photo that matches their book scene; we found this beautiful image of a train with smoke going over a bridge that looks very much like a scene out of Harry Potter.
7. To download the image, they simply need to click on it and select > Free Download.
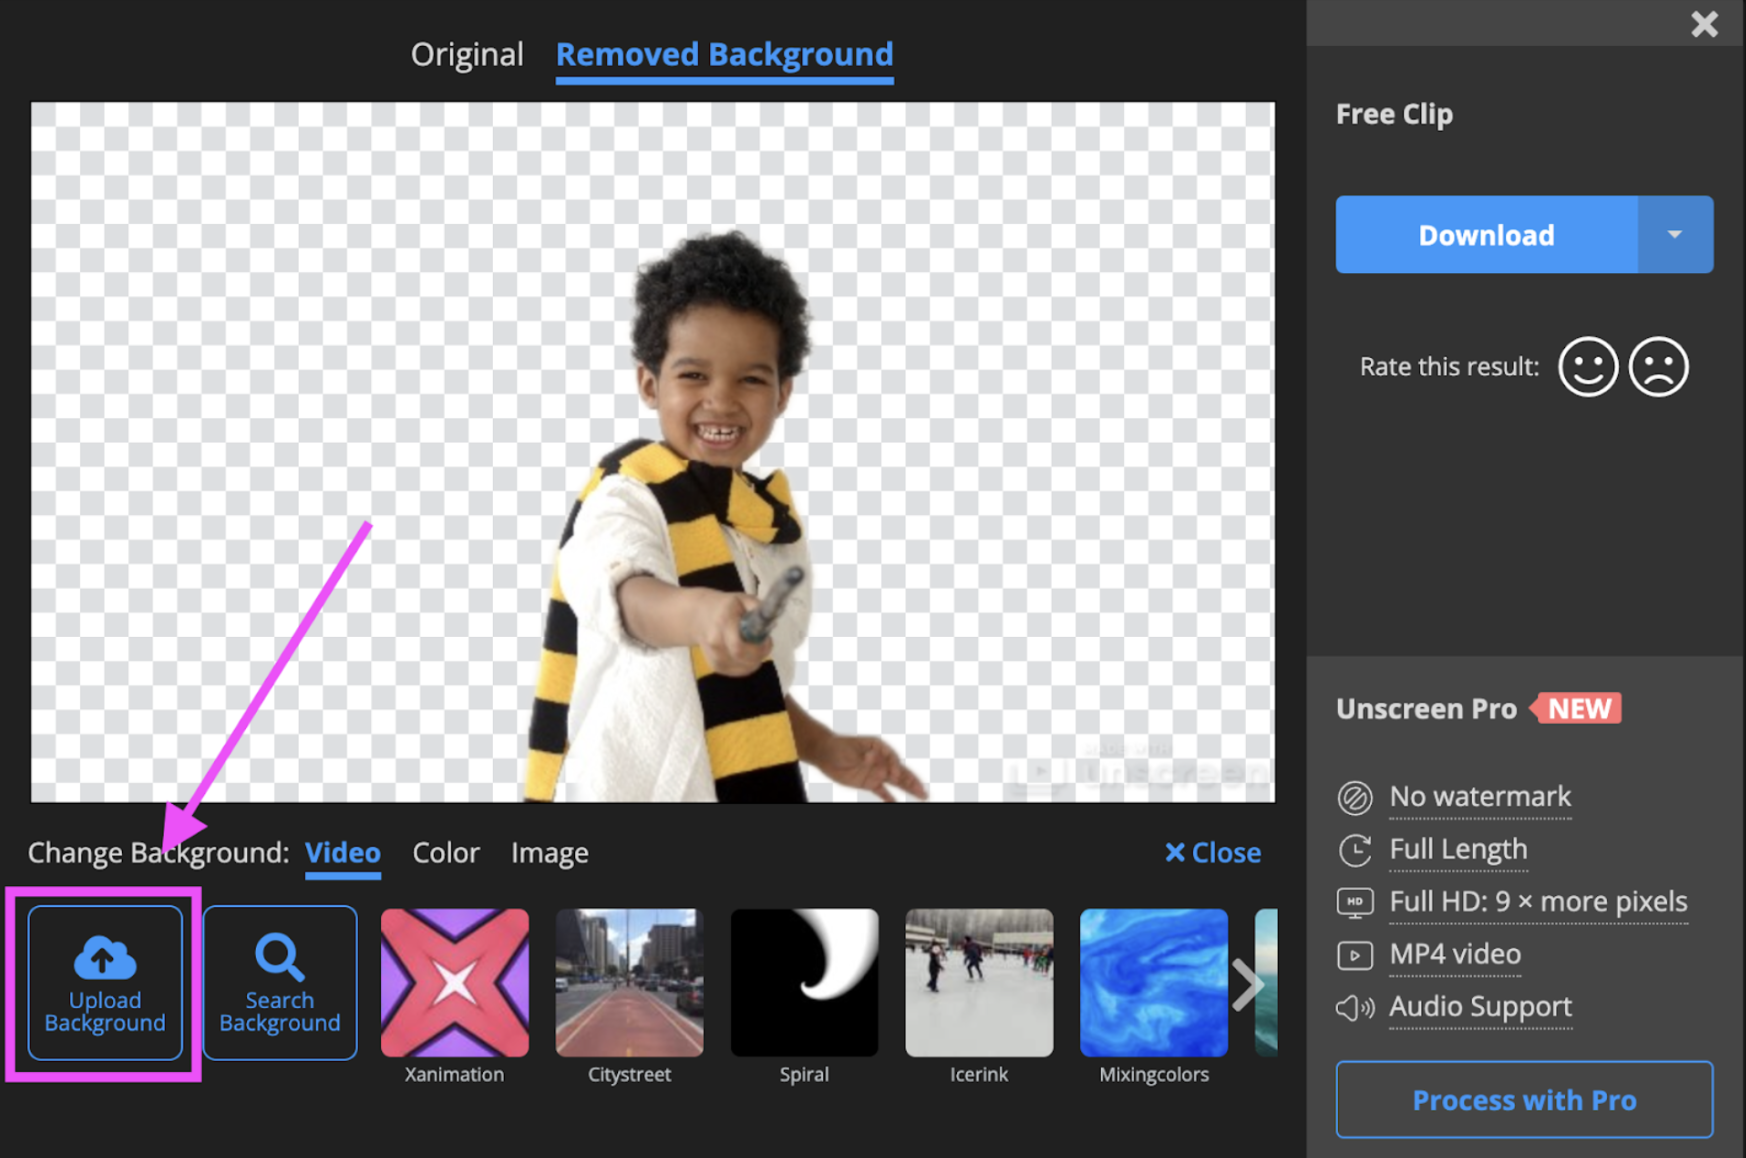
8. Now, the kids can click back to Unscreen and change the background by simply going to > Upload background and selecting the image they just downloaded from Pexels.
It will look something like this:
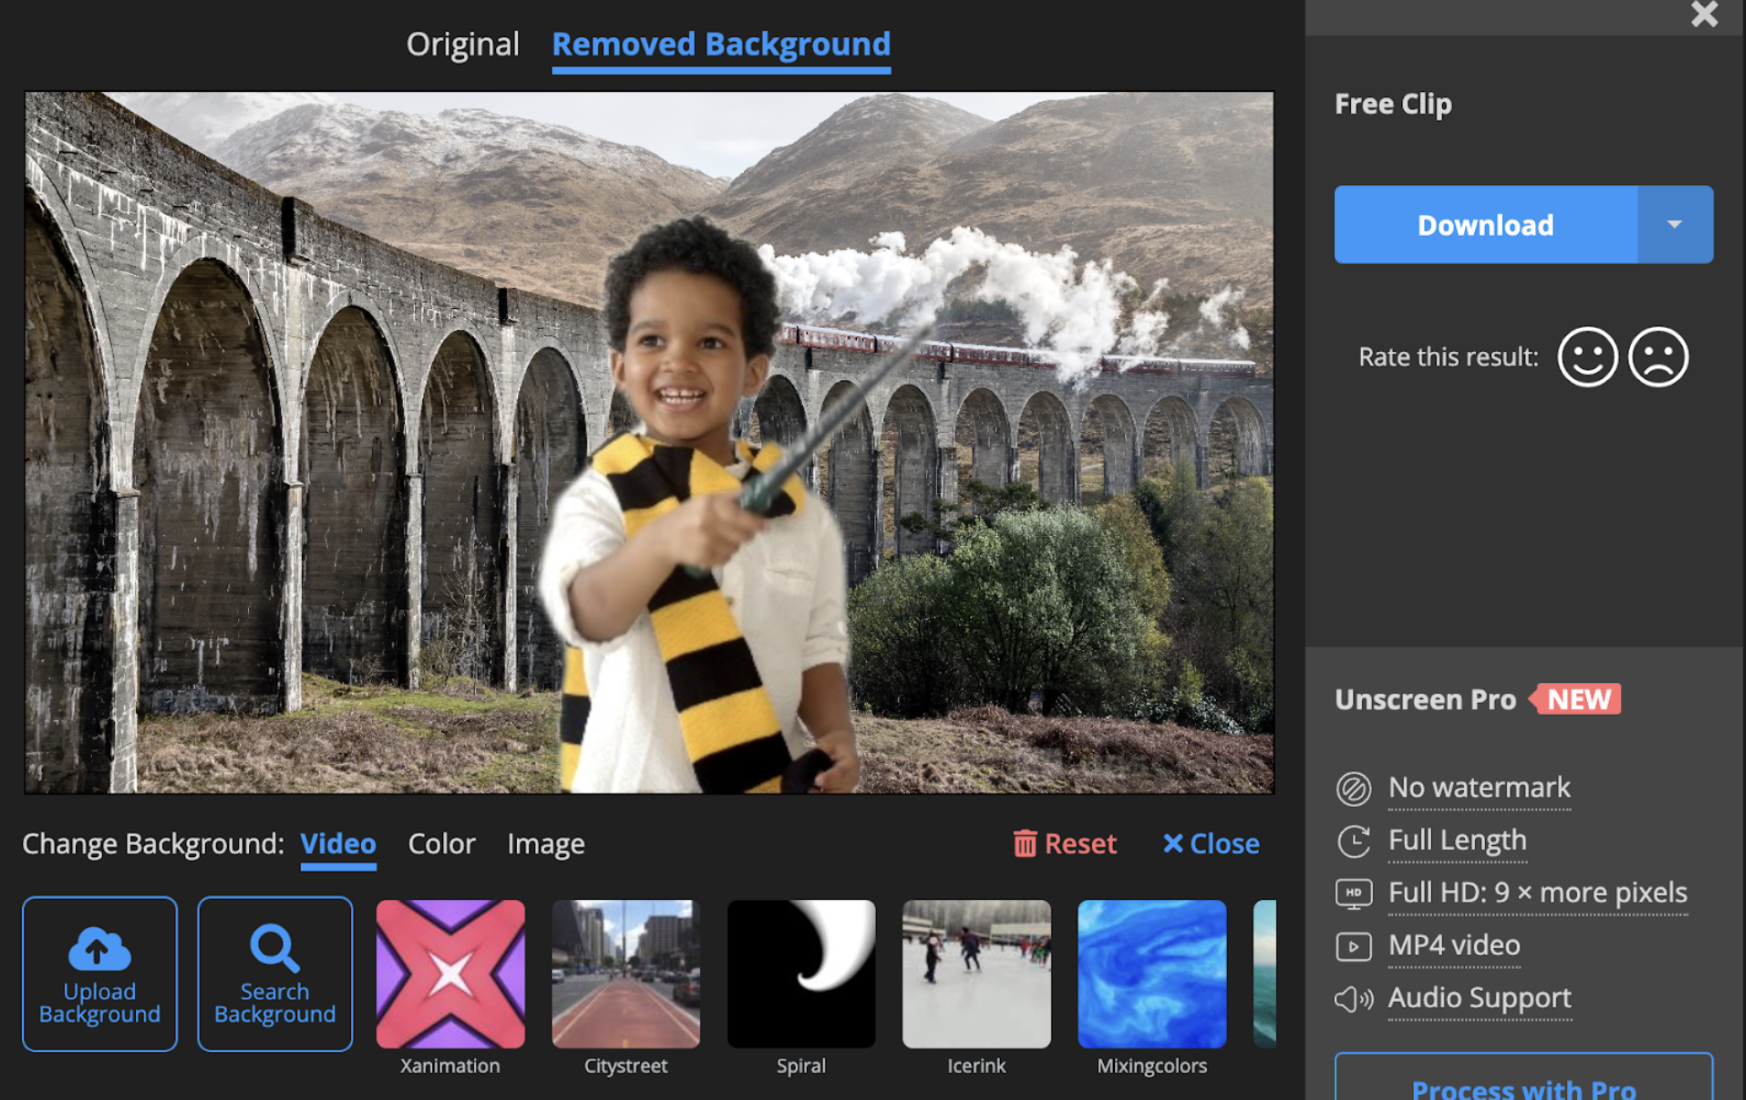
9. Now you can go ahead and hit > Download; this is the free download — where you’ll get to download a GIF.
What a cutie pie, right?
If you want to download the full HD video version, select > Process with Pro — this will show the full video with the new background.
The kids can then present the videos to the class and talk about the book. A great way to motivate them to read even more books.
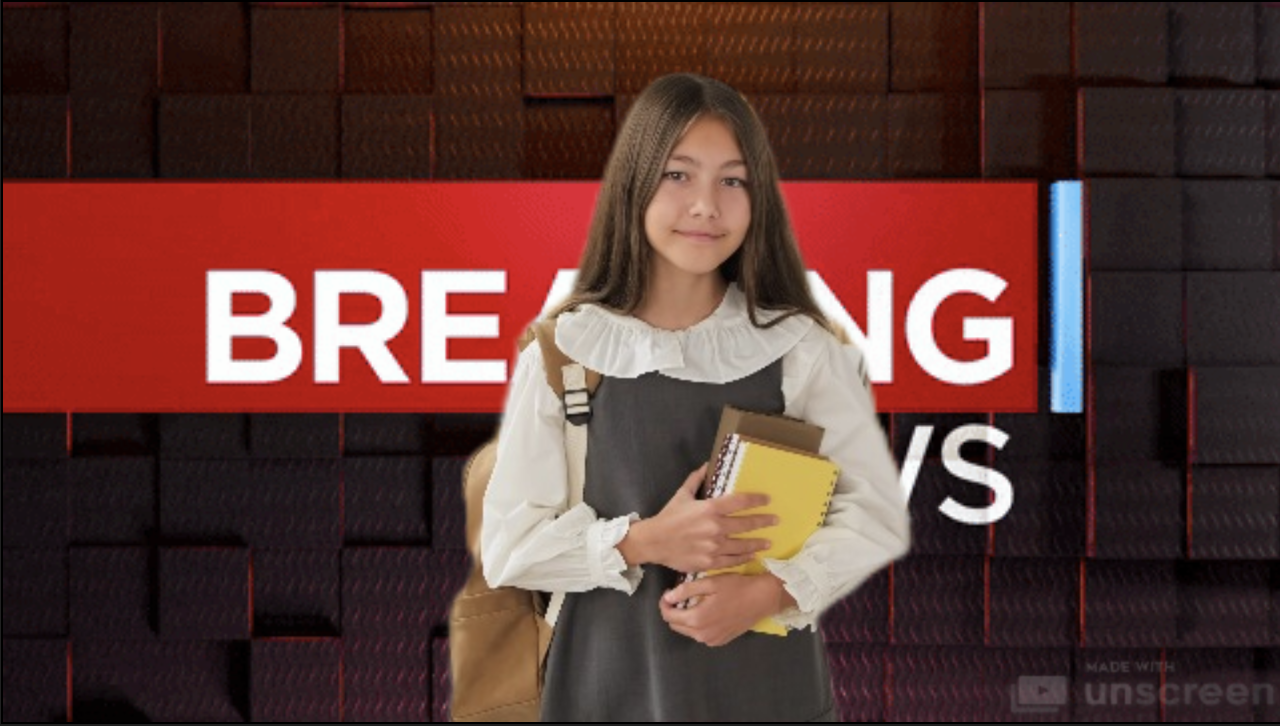
Mimic a news channel: school video project idea
Another fantastic idea to get the kids engaged is to get them to become news reporters for the day. You can get them to mimic real-life stories, or if they're a little older, you can also be a bit more fun and get them to create parody news stories around the school.
To do this:
Split your class into groups of 2-4; one can be the news anchor — the rest can assist — or they can take turns.
-
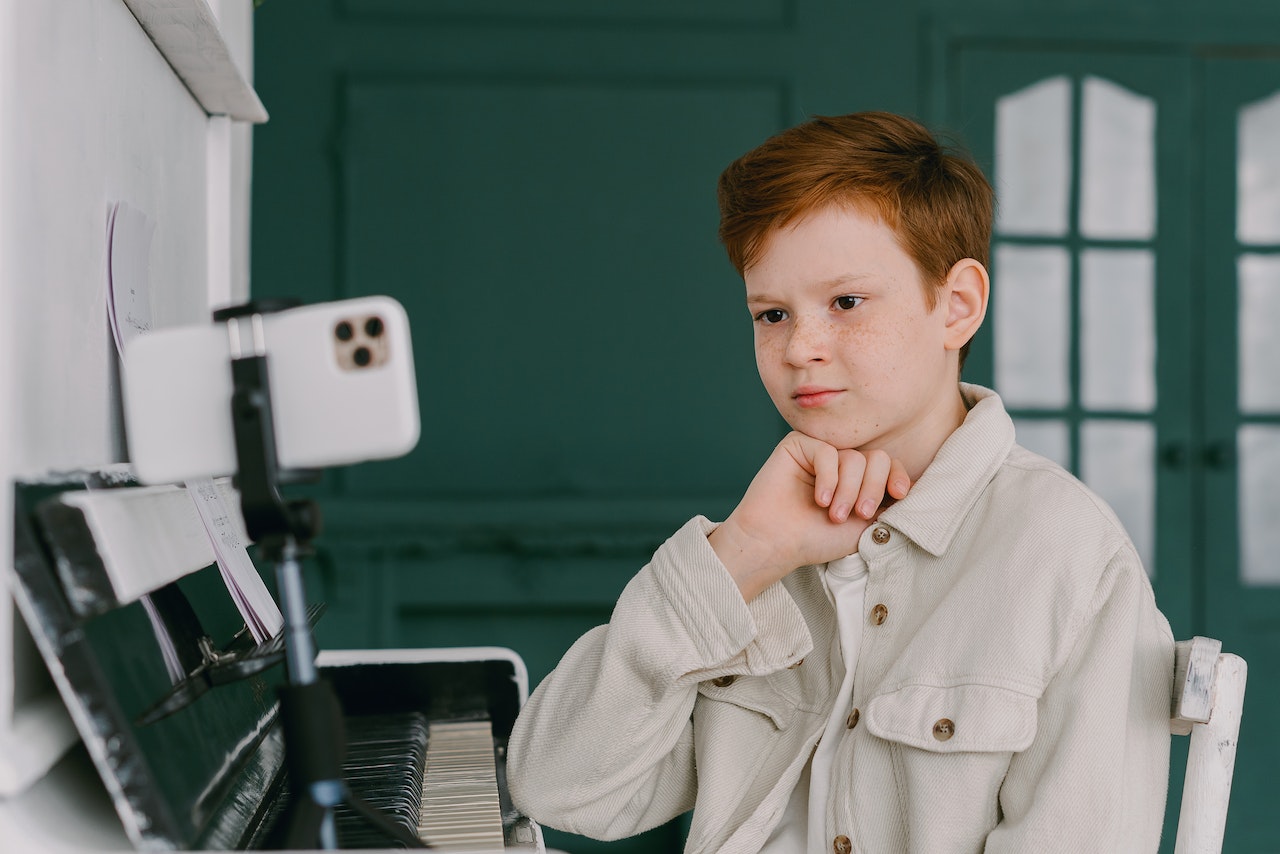
Show them this video as an example of how to present a news story:
-
Hand out a worksheet for them to write down their news story, and get them to work out the following:
Name of the news anchor
The time when reporting
Where are they reporting from?
What has happened?
Who’s been involved?
What's going to happen next?
From this, let them write an official script they can read from/use as help when talking.
Then get them to record their news segment; they will definitely need to practice it time and time again, so plan around 2 hours for this activity.
Once done, get them to open Unscreen and upload their video.
-
They can change the background by going to > Search background and typing in 'Breaking news' — you'll get a couple of GIF backgrounds to choose from. We opted for this one:
8. To download the video's full version, go to > Process with Pro.
Back-to-school video projects: a great way to kick off the year
No matter if you're getting the kids to show what they were up to this summer, reenact a moment in history, create a book trailer, or act out a news story — these video project ideas are a ton of fun.
To recap the most important steps:
Show and explain exactly what you're looking for in their video project to your students.
Split them into groups of 2–4 students.
Create a worksheet where they can brainstorm ideas and even write a script if they like.
Give them iPads to record videos on.
Get them to use Unscreen to remove and change the background of their videos; consider combining it with Google Slides if you want a presentation format.
Have fun!
But you can also use Unscreen to create teaching videos your kids can watch over and over again. Check out our: Step-by-Step Guide on How to Make Teaching Videos to find out how.
Want to create your own little back-to-school video and change the background? Try it out by hopping on over to Unscreen and getting started right away.
Comments
No comments so far.